Halloween nails do not have to mean dripping blood, scary faces, or over-the-top art that feels impossible to wear to work on Monday. Minimalist Halloween nails keep the fun of the season but scale it down to tiny ghosts, little pumpkins, small moons, and delicate webs that sit neatly on a clean base. The result is festive without being loud, and it works just as well for a costume party as it does for a regular October week. If you love seasonal nails but prefer a polished look, this is the sweet spot.
This guide shares fourteen minimalist Halloween nail ideas that are cute, easy to ask for at the salon, and simple enough to try at home with a steady hand. Each idea uses a small amount of art on a mostly clean base, so the design stays wearable and the manicure still looks neat as it grows out. You will find options for short nails, long nails, matte finishes, and glossy finishes, plus tips for keeping the art crisp. Pick one idea, save it for your next appointment, and enjoy Halloween nails that feel fun rather than frightening.
In This Guide
- 1. Tiny Ghost Accent Nails on a Nude Base
- 2. Mini Pumpkin Tips in Burnt Orange
- 3. Black French Tips With a Single Moon
- 4. Gold Stars on a Milky White Base
- 5. Delicate Spiderweb Corner Art
- 6. Candy Corn Tips in Soft Pastel
- 7. Matte Black Nails With One Glossy Ghost
- 8. Tiny Bats on a Sheer Pink Base
- 9. Orange and Cream Half-Moon Design
- 10. Subtle Cat-Eye Shimmer in Plum
- 11. White Dots and Tiny Moons on Sage Green
- 12. Glitter Gradient Tips in Black and Gold
- 13. Tiny Pumpkins on Short Square Nails
- 14. Minimal Ghost Faces on a Clear Glossy Base
- Conclusion
- Frequently Asked Questions About Minimalist Halloween Nails
1. Tiny Ghost Accent Nails on a Nude Base
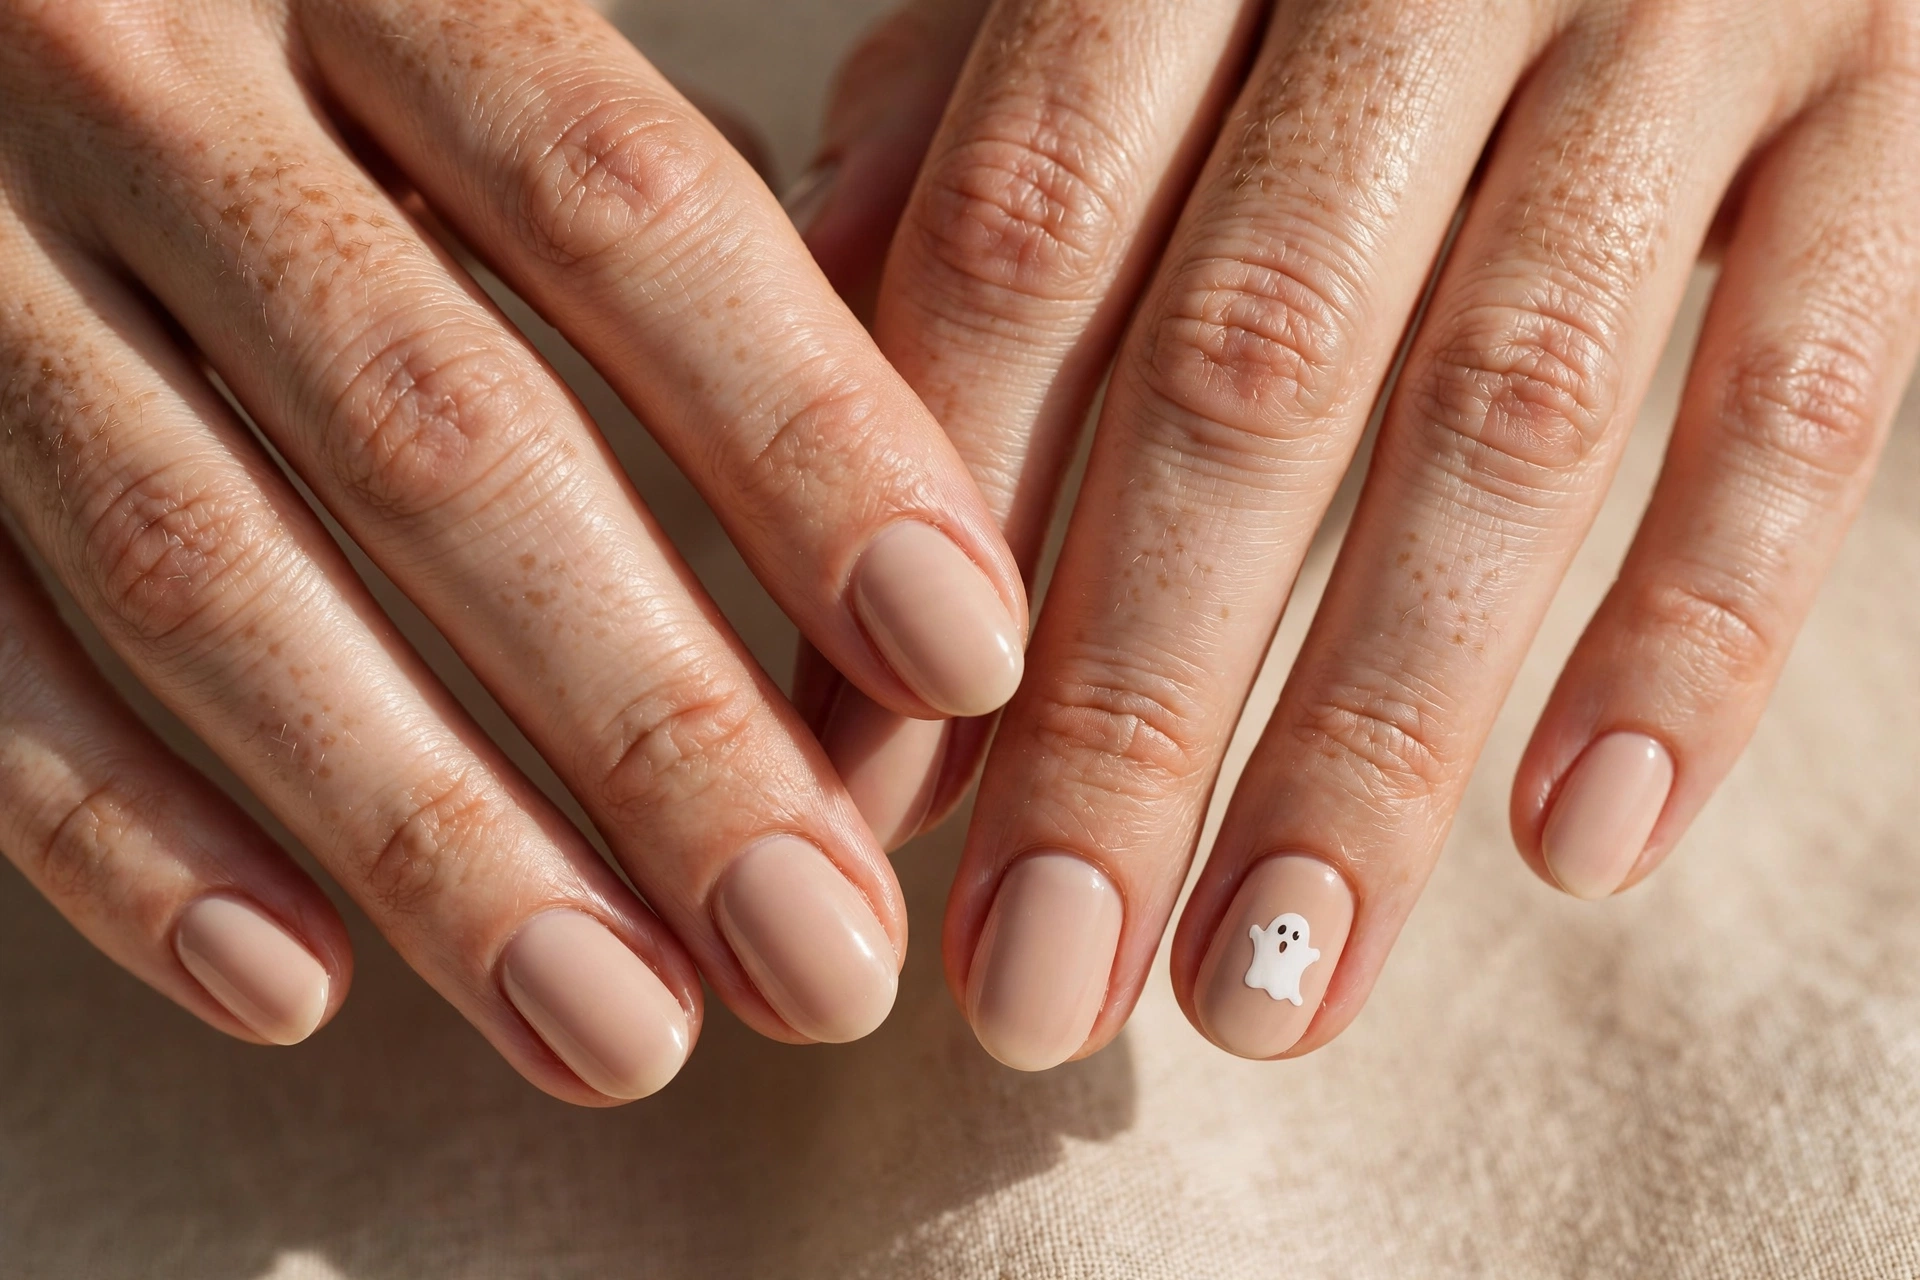
A tiny ghost on one or two accent nails is the easiest way to make a nude manicure feel like Halloween without changing the whole look. Keep the base a soft nude or pale blush, then add one small white ghost with two tiny dot eyes on the ring finger, or on the ring finger and thumb. The ghost should be small enough that it reads as a cute detail rather than a costume, which keeps the manicure office-friendly. A thin nail art brush or a dotting tool gives you the most control over the shape, and a glossy top coat seals the art.
This design works beautifully on almond, oval, and short round nails, because the small ghost has enough room to sit cleanly without crowding the nail. Ask your nail artist to keep the ghost near the centre of the nail with space around it, since a little breathing room makes the art look intentional. At home, paint the ghost with white polish, add the eyes once it is dry, and finish with top coat to smooth the edges. The rest of the nails stay plain nude, so the manicure still looks neat and polished from a distance.
2. Mini Pumpkin Tips in Burnt Orange
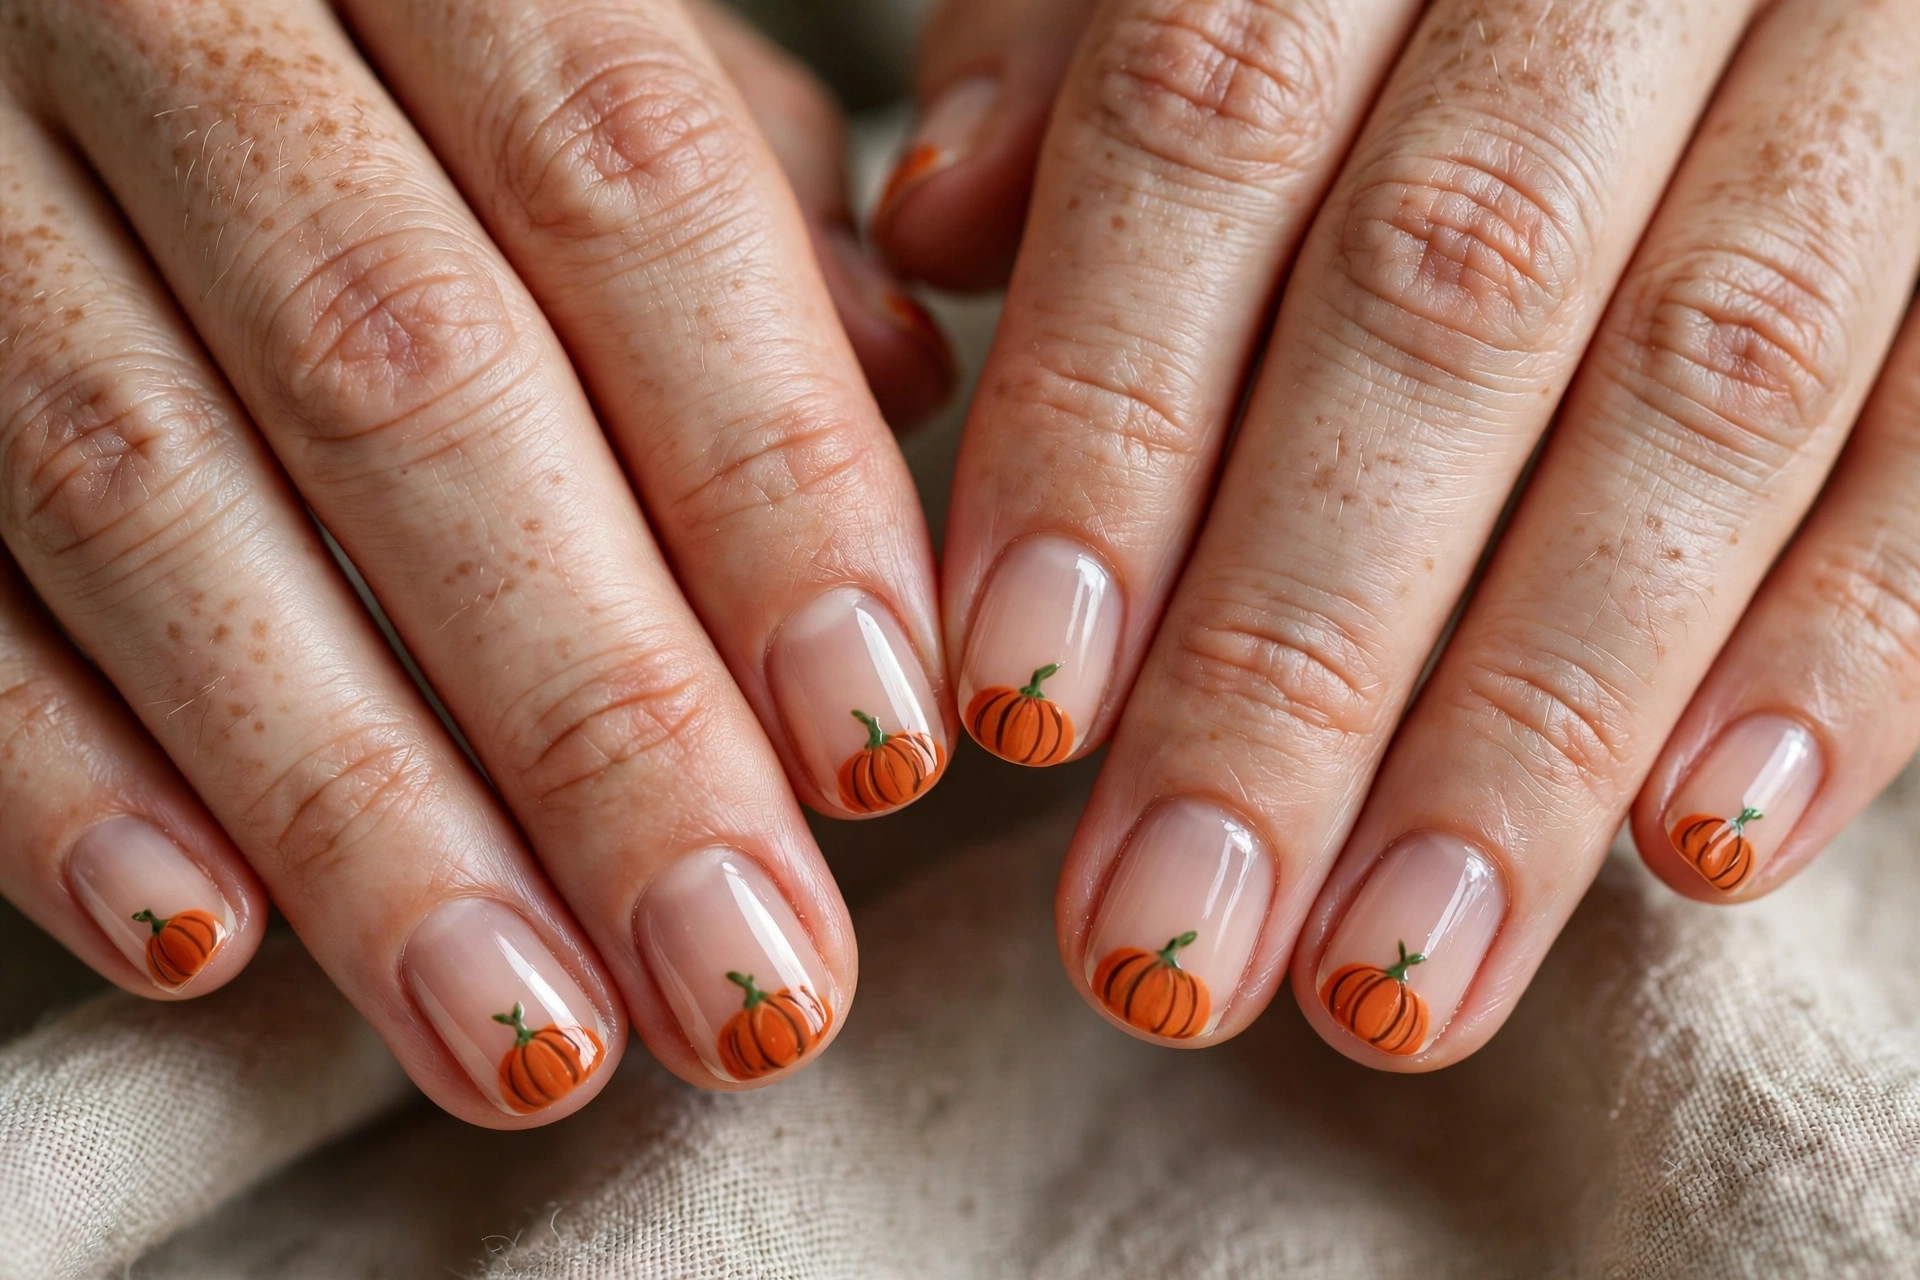
Mini pumpkin tips swap a classic French manicure for a seasonal twist, with burnt orange tips shaped like tiny pumpkins. Start with a sheer nude or pale pink base, then paint the free edge in a warm burnt orange and add a small green stem at the centre of each tip. The pumpkin shape stays subtle because only the tip carries colour, and the rest of the nail stays clean and natural. This is a lovely choice if you want Halloween nails that still feel elegant and grown-up. The warm tone also pairs well with gold jewellery and soft autumn knits.
For the most polished result, keep the tip line curved and even, and use a thin brush to add the stem after the orange has dried. A short square or squoval nail shape holds the pumpkin tip best, since the straight edge gives the colour a clear boundary. If you prefer a softer look, blur the edge of the orange slightly with a sponge for a gentle gradient into the base. A glossy top coat brings out the warm orange, while a matte top coat makes the same design feel more modern and muted.
3. Black French Tips With a Single Moon
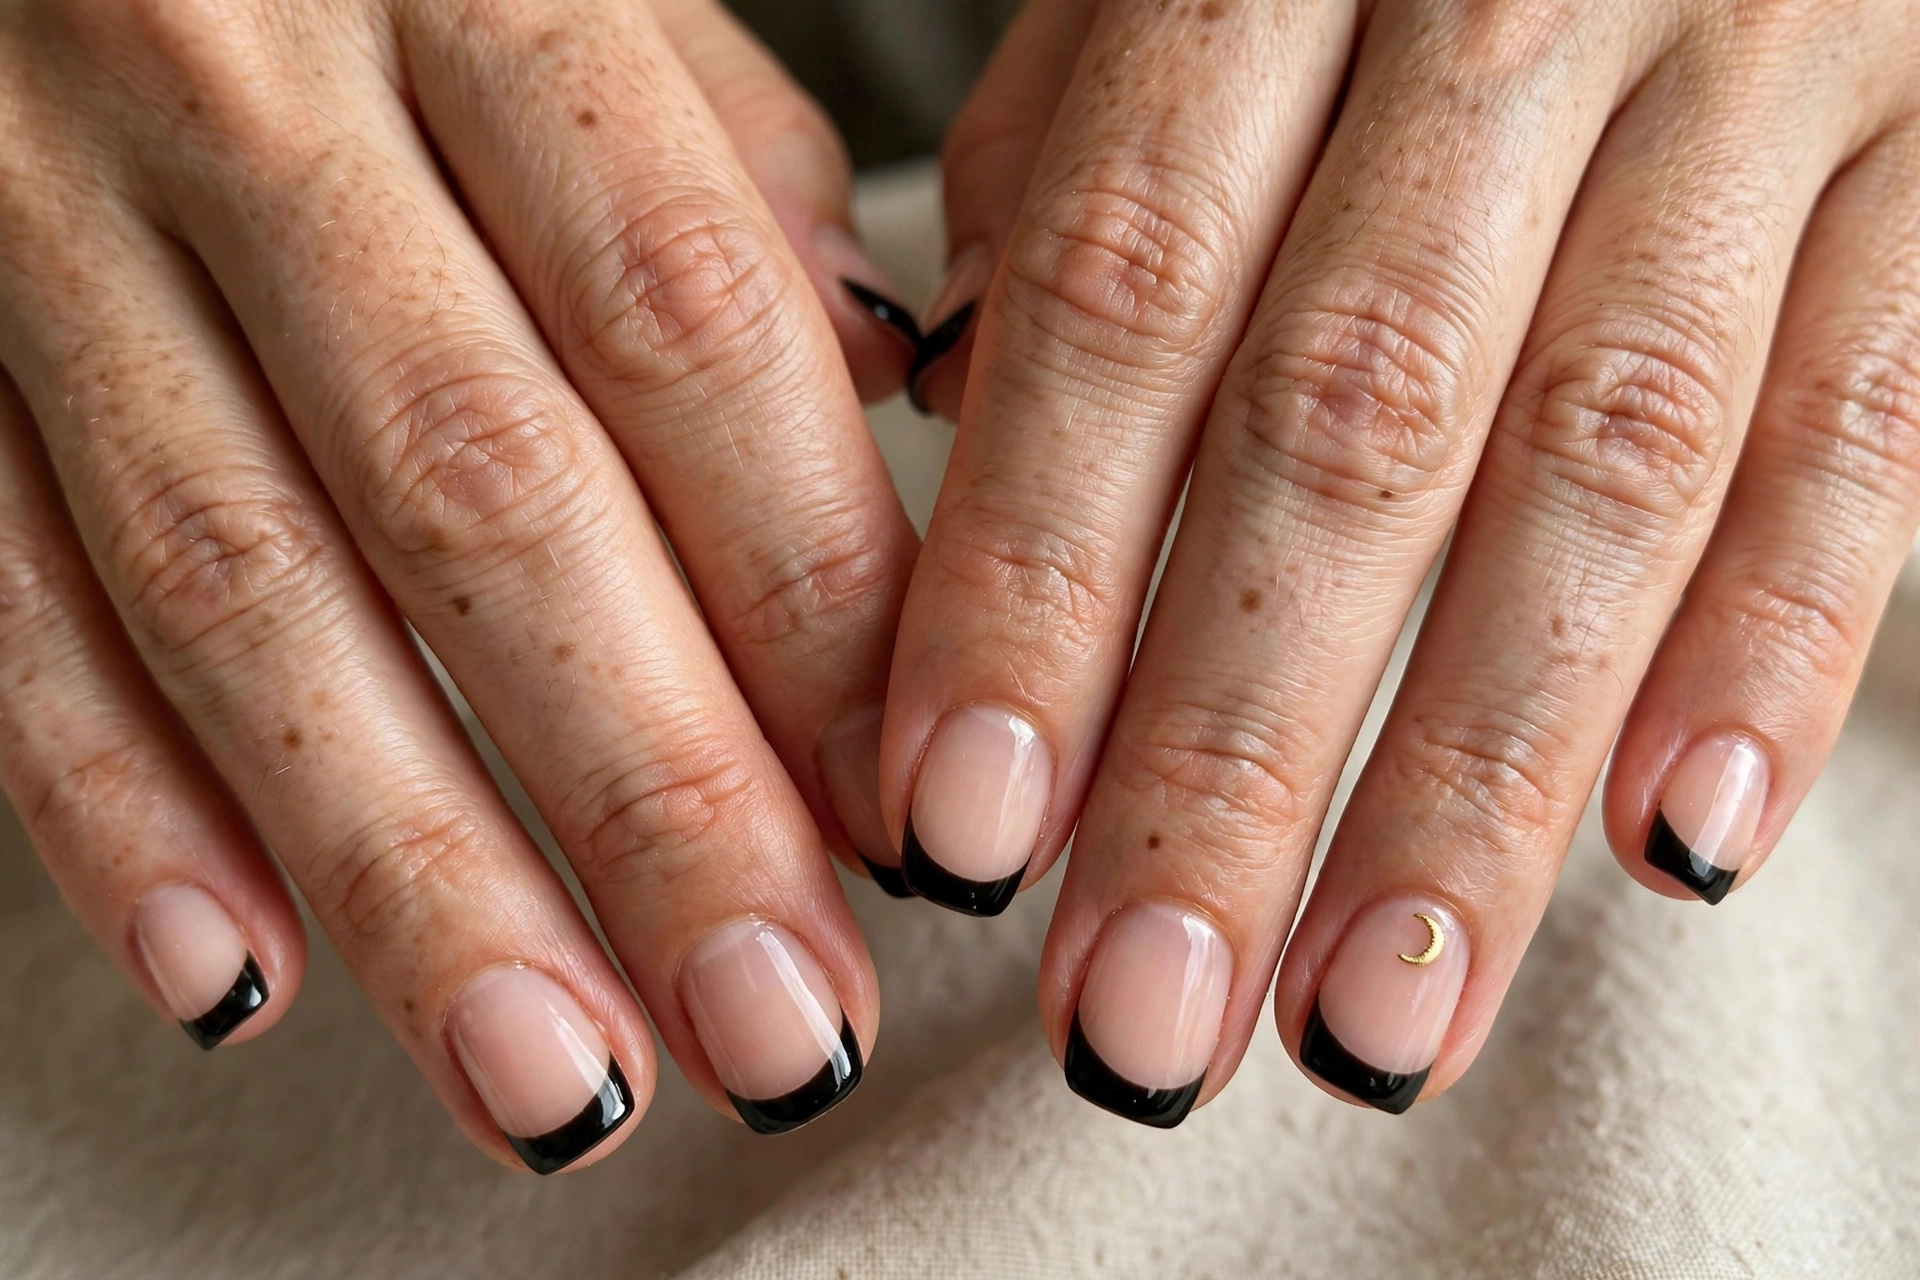
Black French tips are a chic year-round look, and one tiny crescent moon turns them into a quiet Halloween manicure. Paint a classic French tip in black over a sheer pink or milky base, then add a single small gold or white moon on one accent nail. The moon sits best near the base of the nail or just above the tip line, where it reads as a small piece of jewellery. The rest of the nails stay simple black tips, so the manicure stays sleek and wearable. The small moon adds just enough seasonal charm without changing the classic feel.
This design is a great option for people who want Halloween nails without orange, purple, or obvious seasonal colours. The black tip already feels a little moody, and the moon adds just enough story to make it seasonal. Keep the moon small and clean, using a dotting tool or a small stamp if freehand feels tricky. A glossy top coat makes the black look sharp, while a matte top coat softens the whole manicure and lets the moon stand out more. Keep the rest of the nails plain so the single moon remains the only seasonal detail.
4. Gold Stars on a Milky White Base
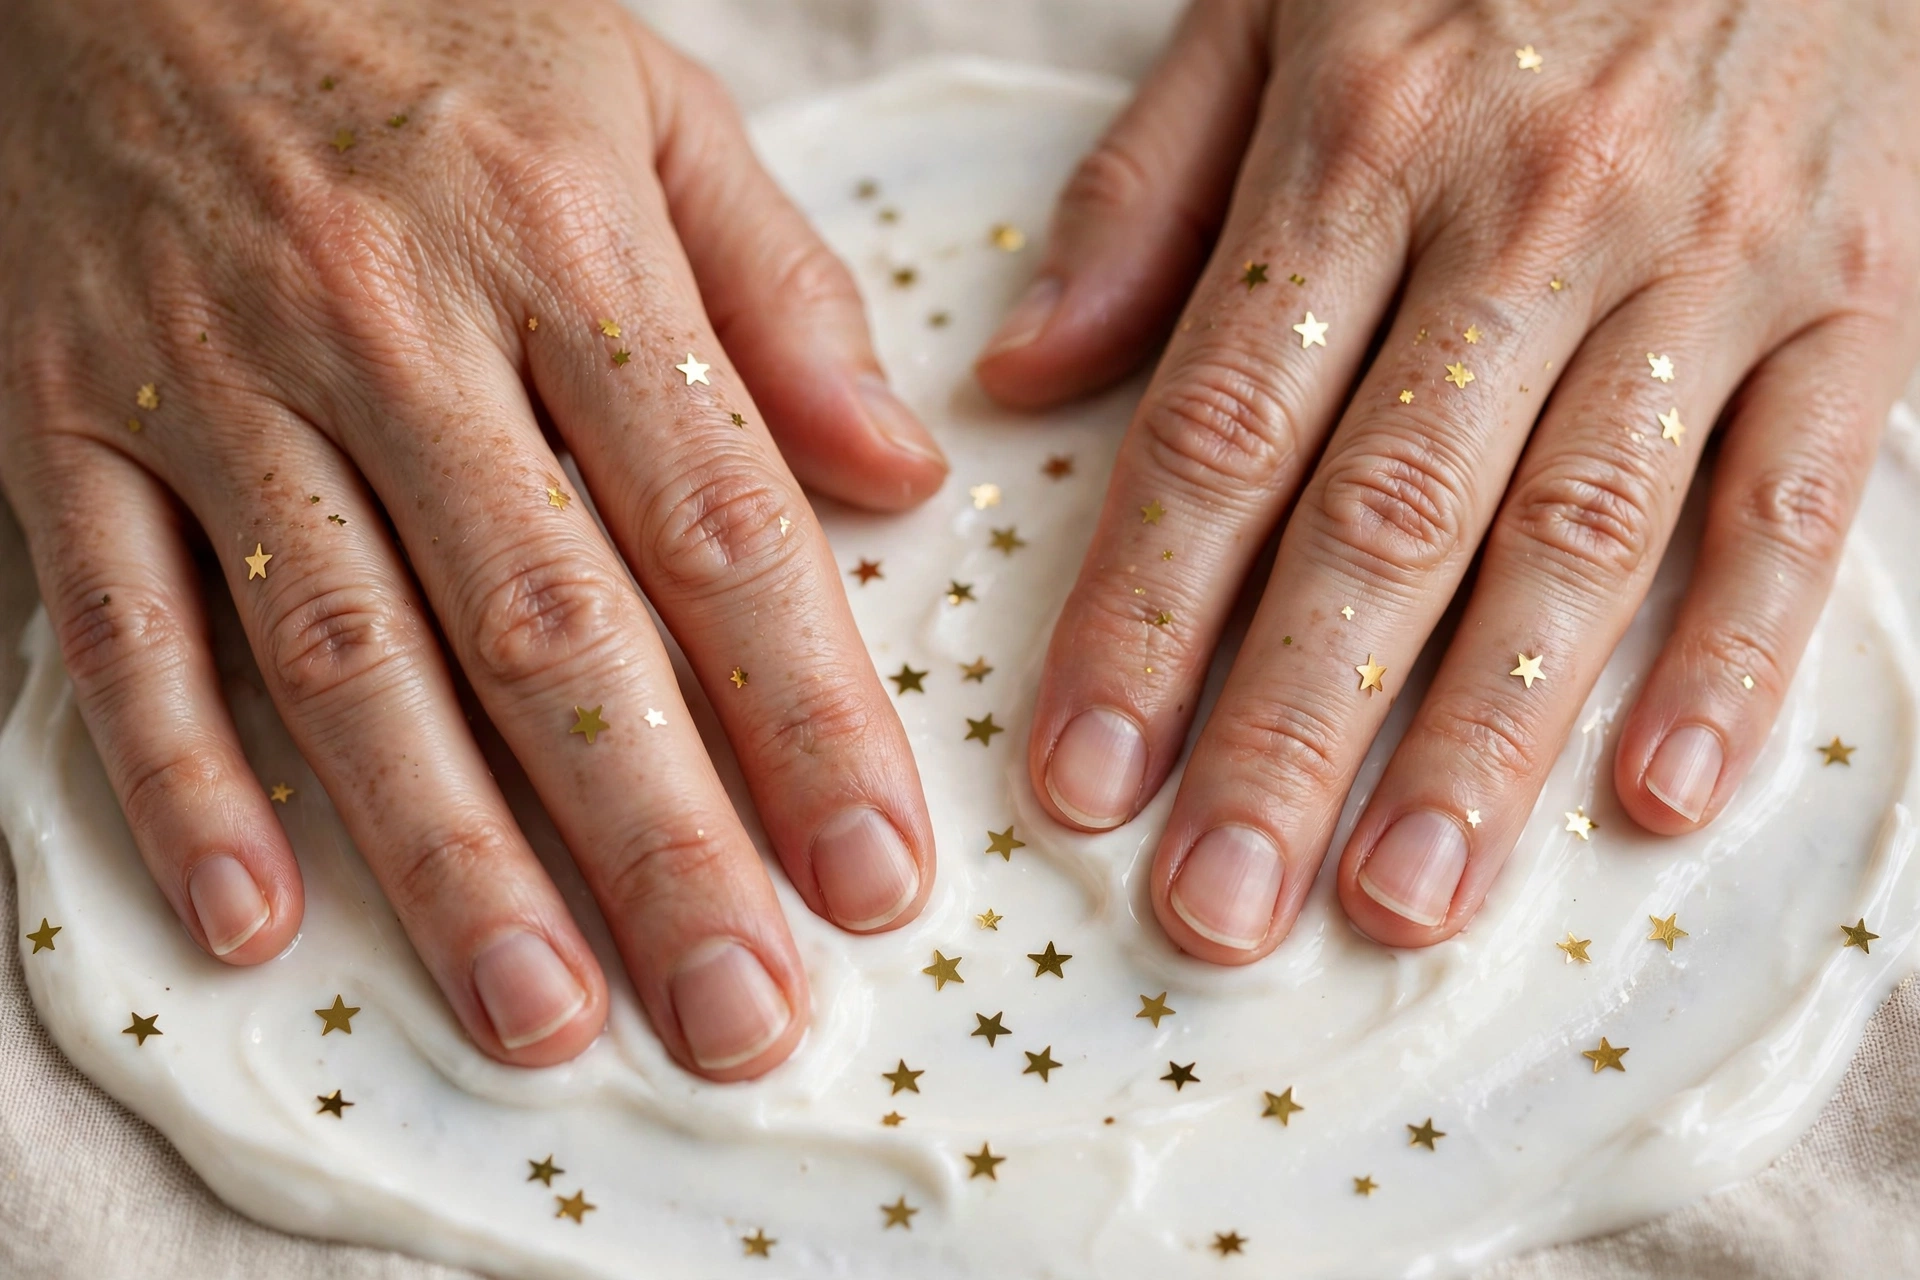
Gold stars scattered over a milky white base give a dreamy, celestial manicure that works perfectly for a minimalist Halloween. The milky base keeps the nails soft and clean, while a few small gold stars add a hint of magic that fits the season without any spooky imagery. Place one star on each nail, or cluster two or three tiny stars on an accent nail and leave the rest with a single star. The uneven placement feels playful and handmade, which suits the style. The scattered placement keeps the manicure relaxed and easy to wear every day.
This design is easy to wear beyond Halloween, since stars and milky white never feel costume-like. Use gold star decals or a fine brush with gold polish, and keep the stars small so they sit comfortably on the nail. A short almond or oval shape suits this look best, because the curved tip echoes the softness of the milky base. Finish with a glossy top coat to make the gold catch the light, and the manicure will feel festive at a party and polished at work. The soft base also grows out neatly, so the manicure keeps looking tidy between appointments.
5. Delicate Spiderweb Corner Art
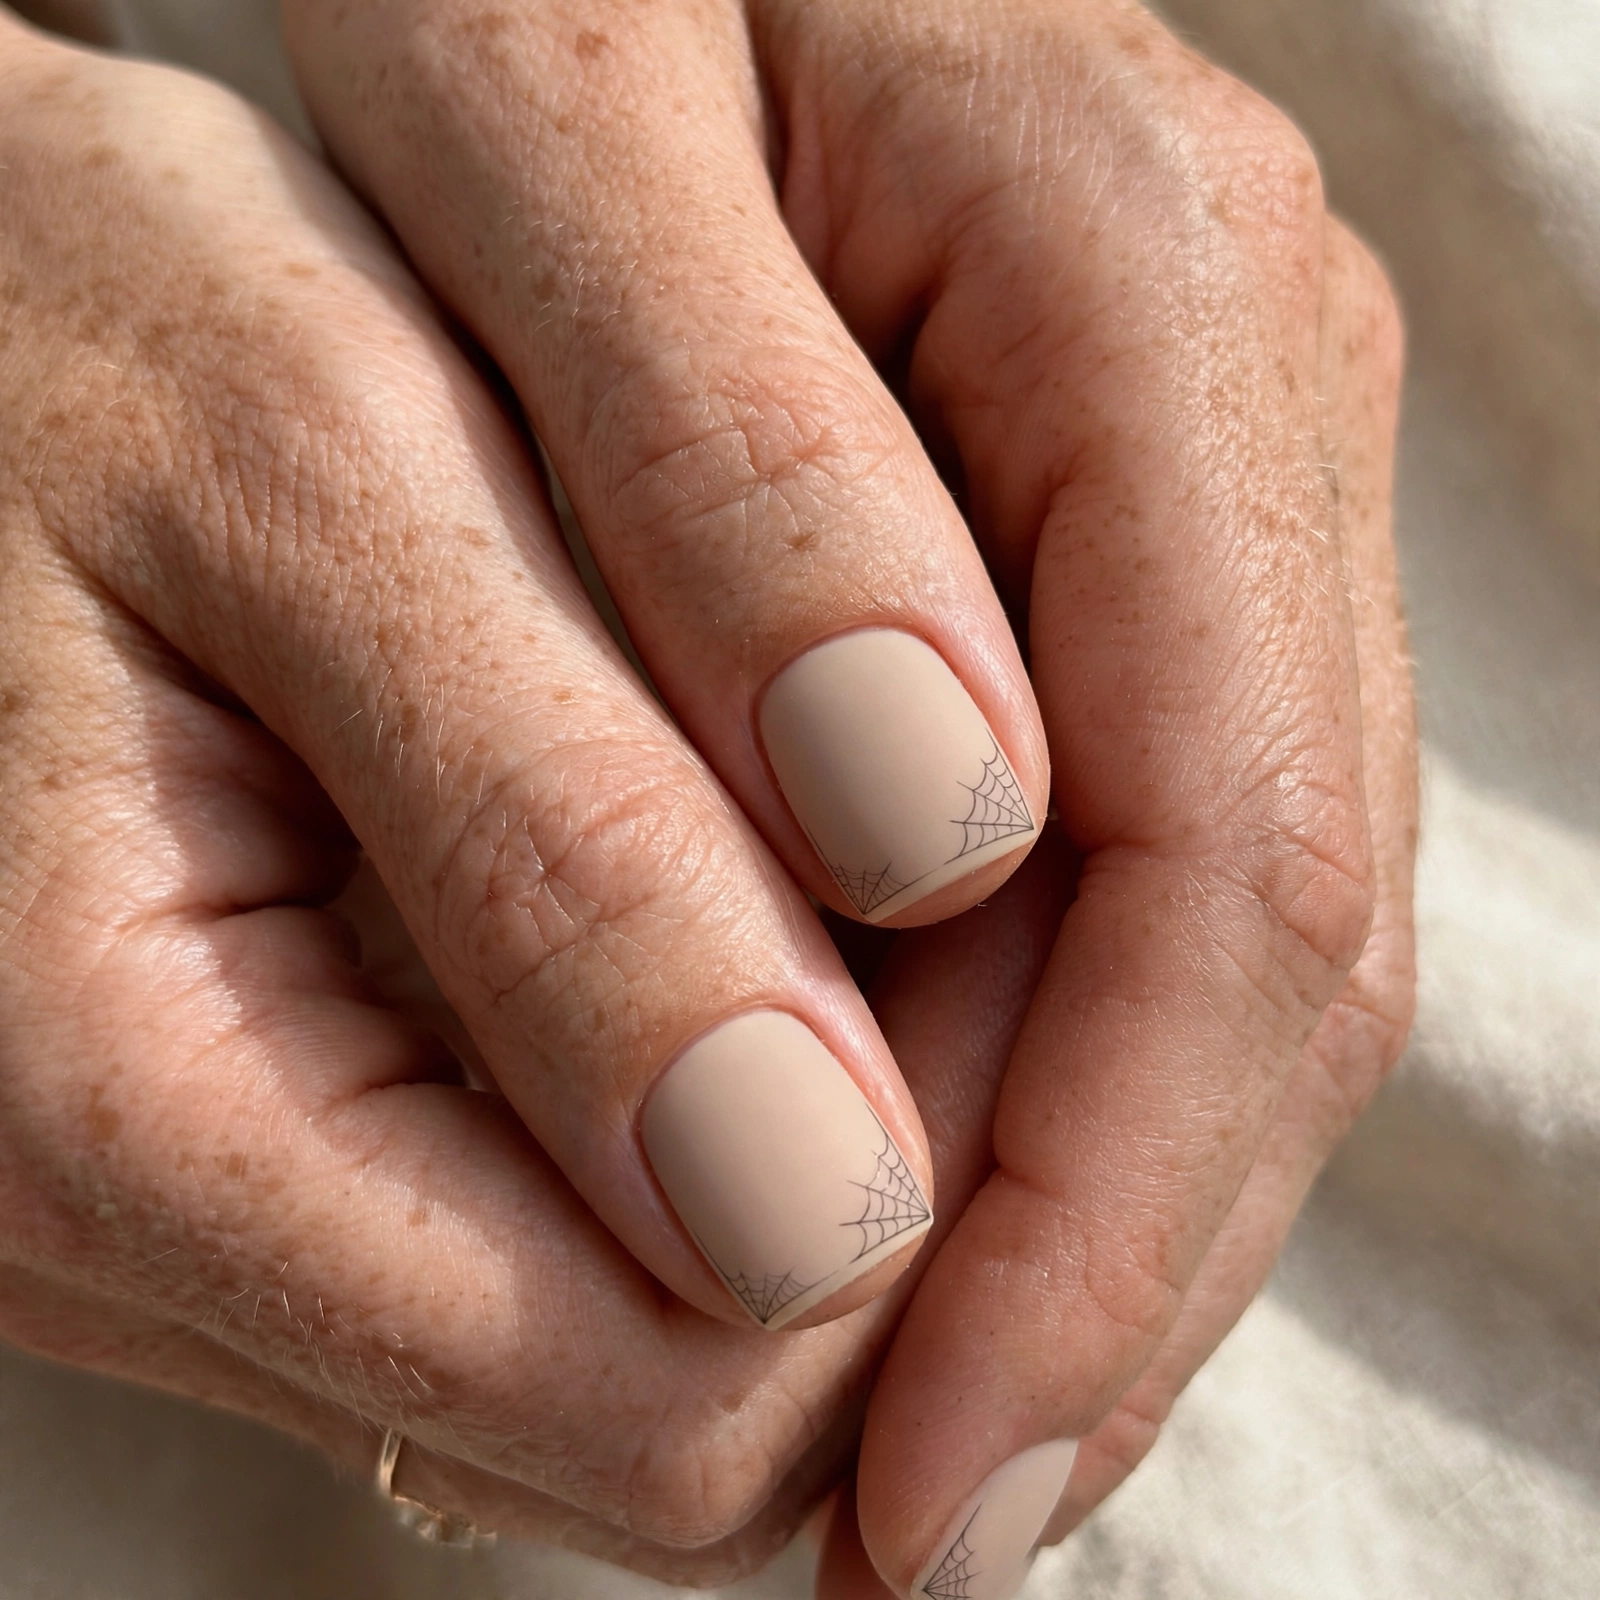
A delicate spiderweb drawn into one corner of the nail is a minimalist Halloween classic that looks far harder than it is. Start with a nude, pale grey, or soft mauve base, then draw three or four thin lines fanning out from one corner, and connect them with small curved strokes to form the web. Keep the lines thin and the web small, covering only about a quarter of the nail, so the design stays light. Skip the spider entirely, or add one tiny dot spider if you want a playful touch.
The key to this design is restraint, since a web that covers the whole nail can quickly look busy. One web on each ring finger is usually enough, with the remaining nails left plain or finished with a single dot. A thin nail art brush and a steady hand matter more than speed, so let each line dry before adding the next. This design suits short and medium nails, and it pairs well with both matte and glossy finishes depending on how soft you want the final look. A glossy top coat sharpens the thin lines, while matte keeps the web whisper-soft.
6. Candy Corn Tips in Soft Pastel
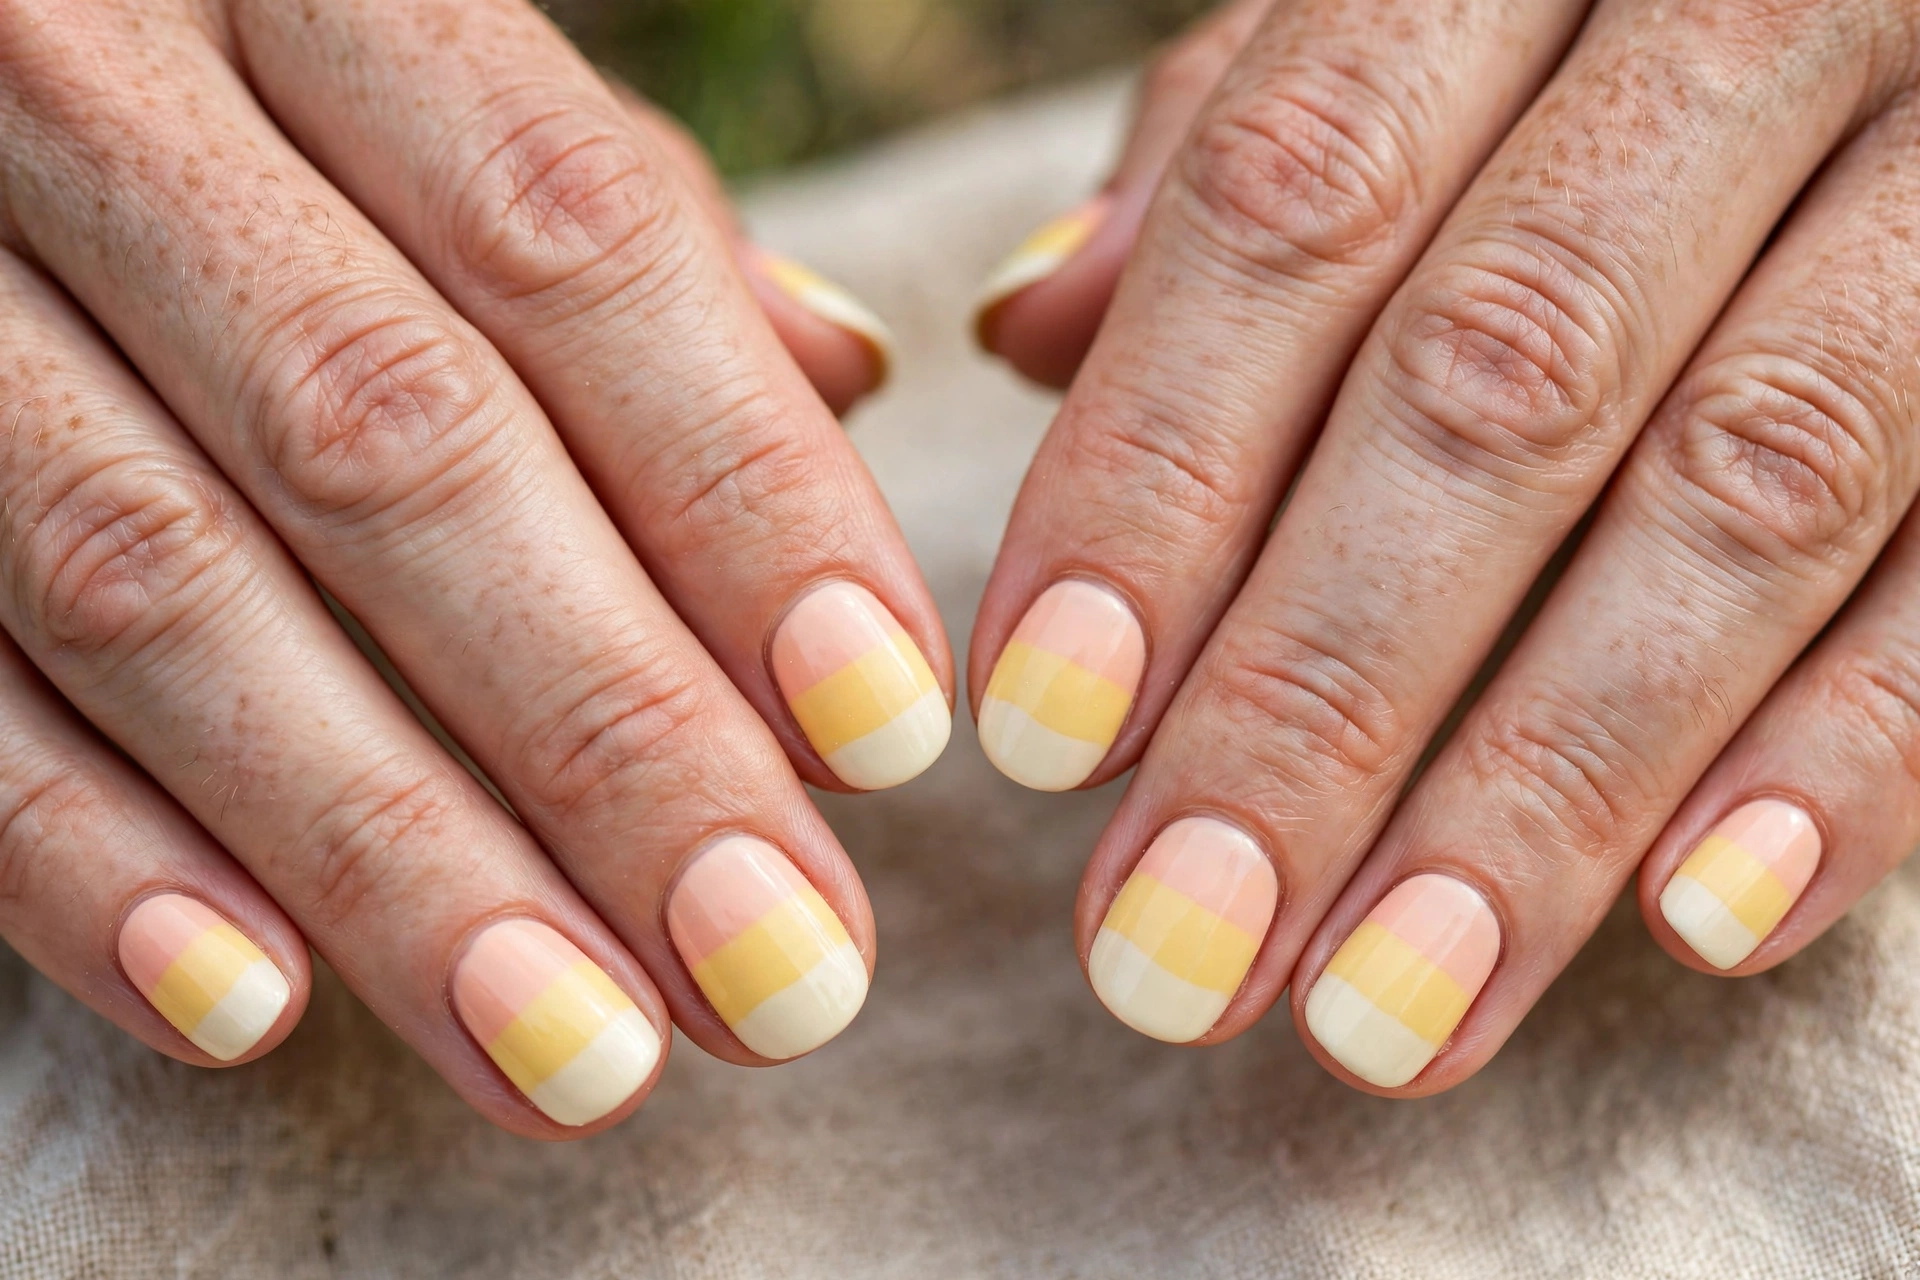
Candy corn tips give you the classic Halloween candy in a soft, pastel version that feels sweet rather than loud. Instead of bold orange, yellow, and white bands, use muted peach, soft butter yellow, and cream for a gentle gradient across the tip. Paint the bands in thin, even stripes on a sheer nude base, keeping the tip area small so the design stays neat. The pastel palette makes the manicure feel more like autumn than a costume, which is exactly the minimalist goal. The gentle colours also suit every skin tone and pair well with autumn outfits.
This design works well on medium and long nails, since the three bands need a little length to read clearly. On shorter nails, keep the bands very thin and the tip short so the design does not crowd the nail. A sponge can help blend the edges between the bands for a soft gradient, while a thin brush keeps the stripes crisp. Finish with a glossy top coat to make the pastels glow, or a matte top coat for a softer, more modern candy corn effect. Keep the bands even and thin so the tip stays neat and the colours stay balanced.
7. Matte Black Nails With One Glossy Ghost
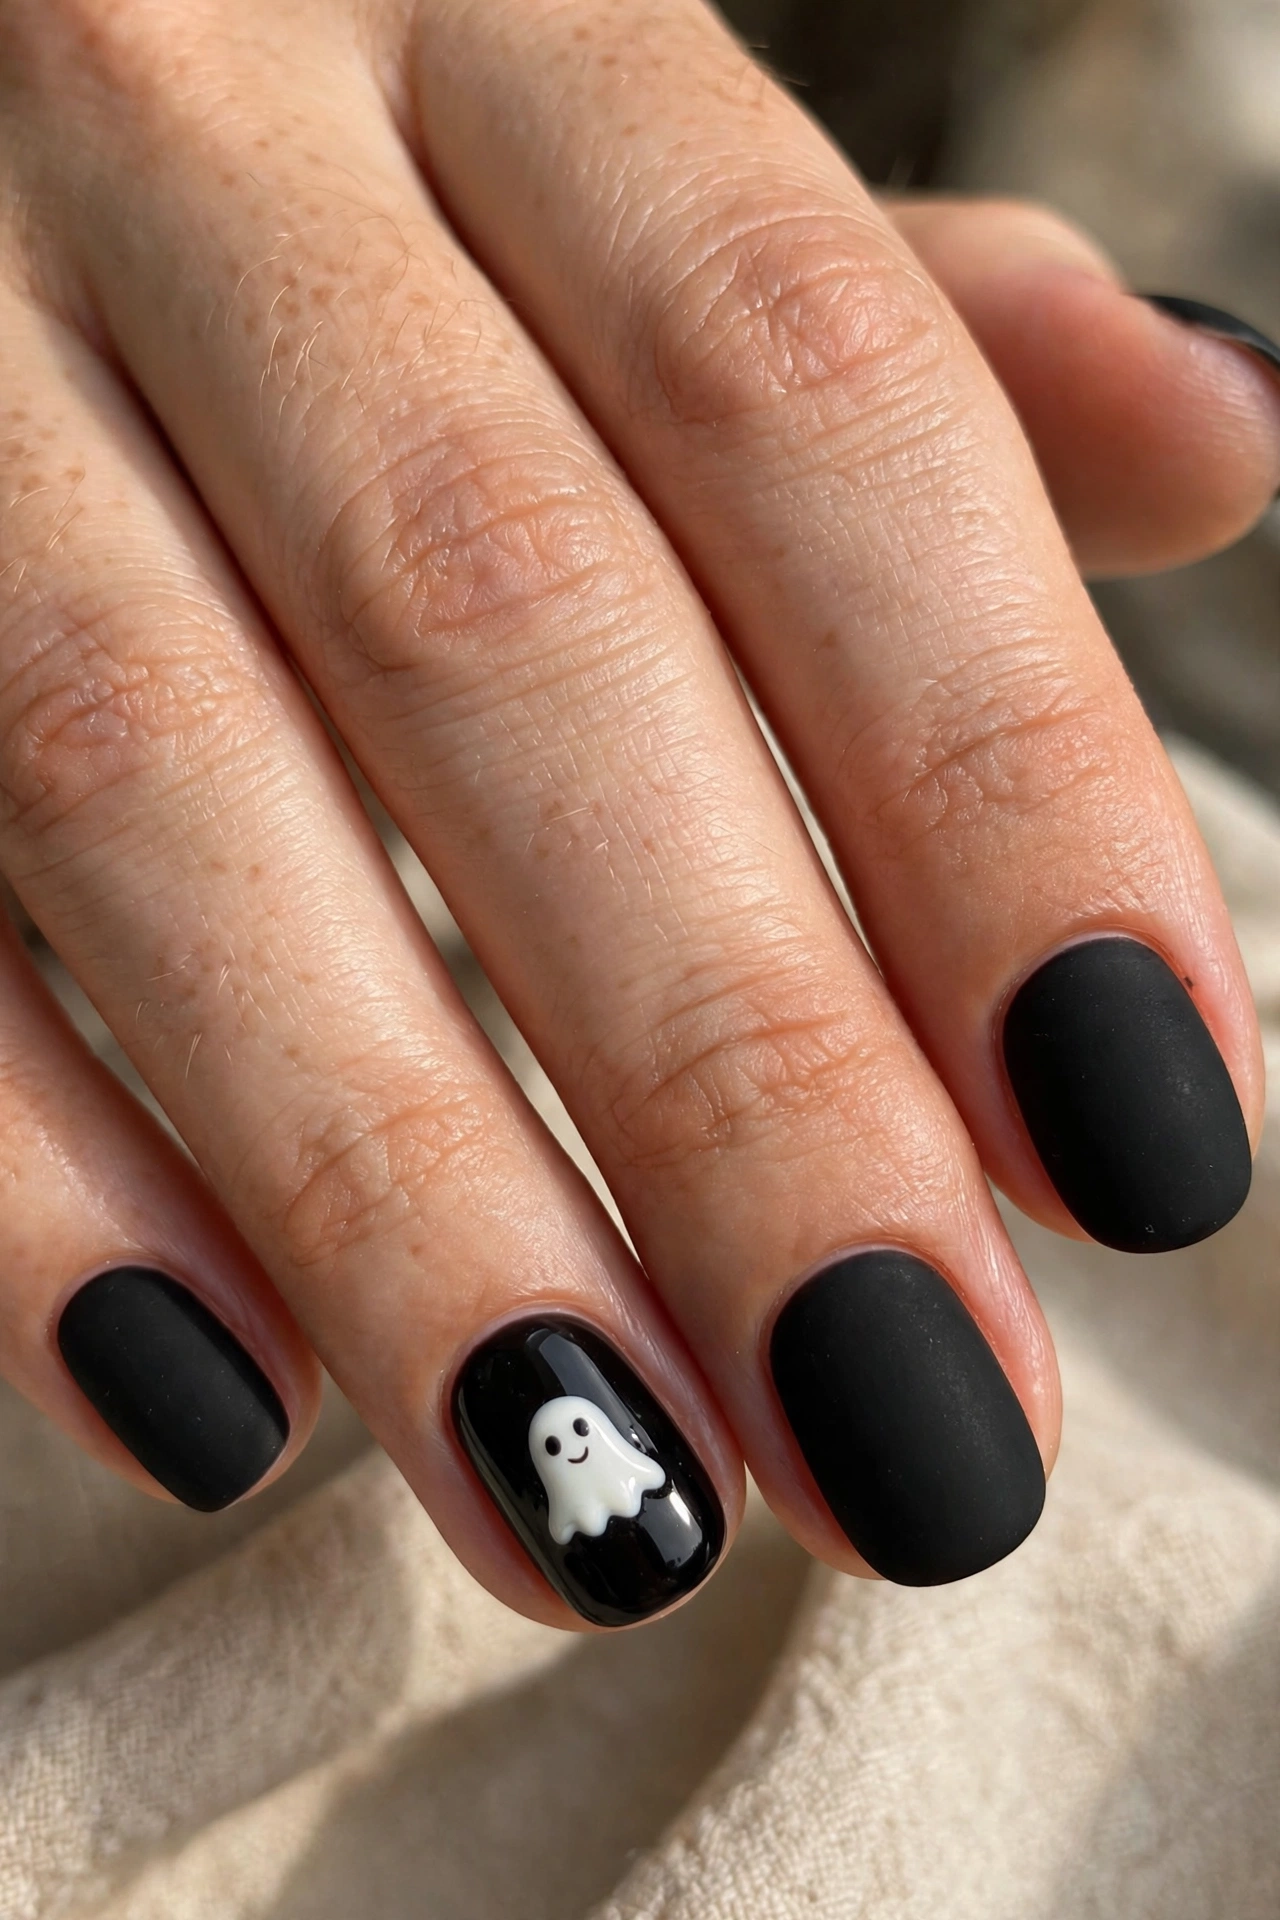
Matte black nails already feel dramatic, and one glossy ghost on an accent nail adds a subtle Halloween twist through texture alone. Paint all nails in matte black, then add a small ghost in glossy clear top coat or glossy white polish on the ring finger. The ghost appears only when the light catches it, which makes the design feel like a secret detail rather than a loud statement. The hidden detail makes it a fun surprise that only shows when someone looks closely. This is a wonderful choice for people who love dark nails but want something a little playful.
The contrast between matte and glossy finishes does most of the work here, so the ghost itself can stay very simple. Keep the ghost small and centred, with two tiny eyes, and let the matte base stay completely plain around it. If you prefer more drama, add a glossy ghost to two accent nails instead of one. A matte top coat over the black is essential for the texture contrast, and a glossy top coat over the ghost keeps it visible and smooth. Keep the remaining nails completely plain so the texture contrast stays the star.
8. Tiny Bats on a Sheer Pink Base
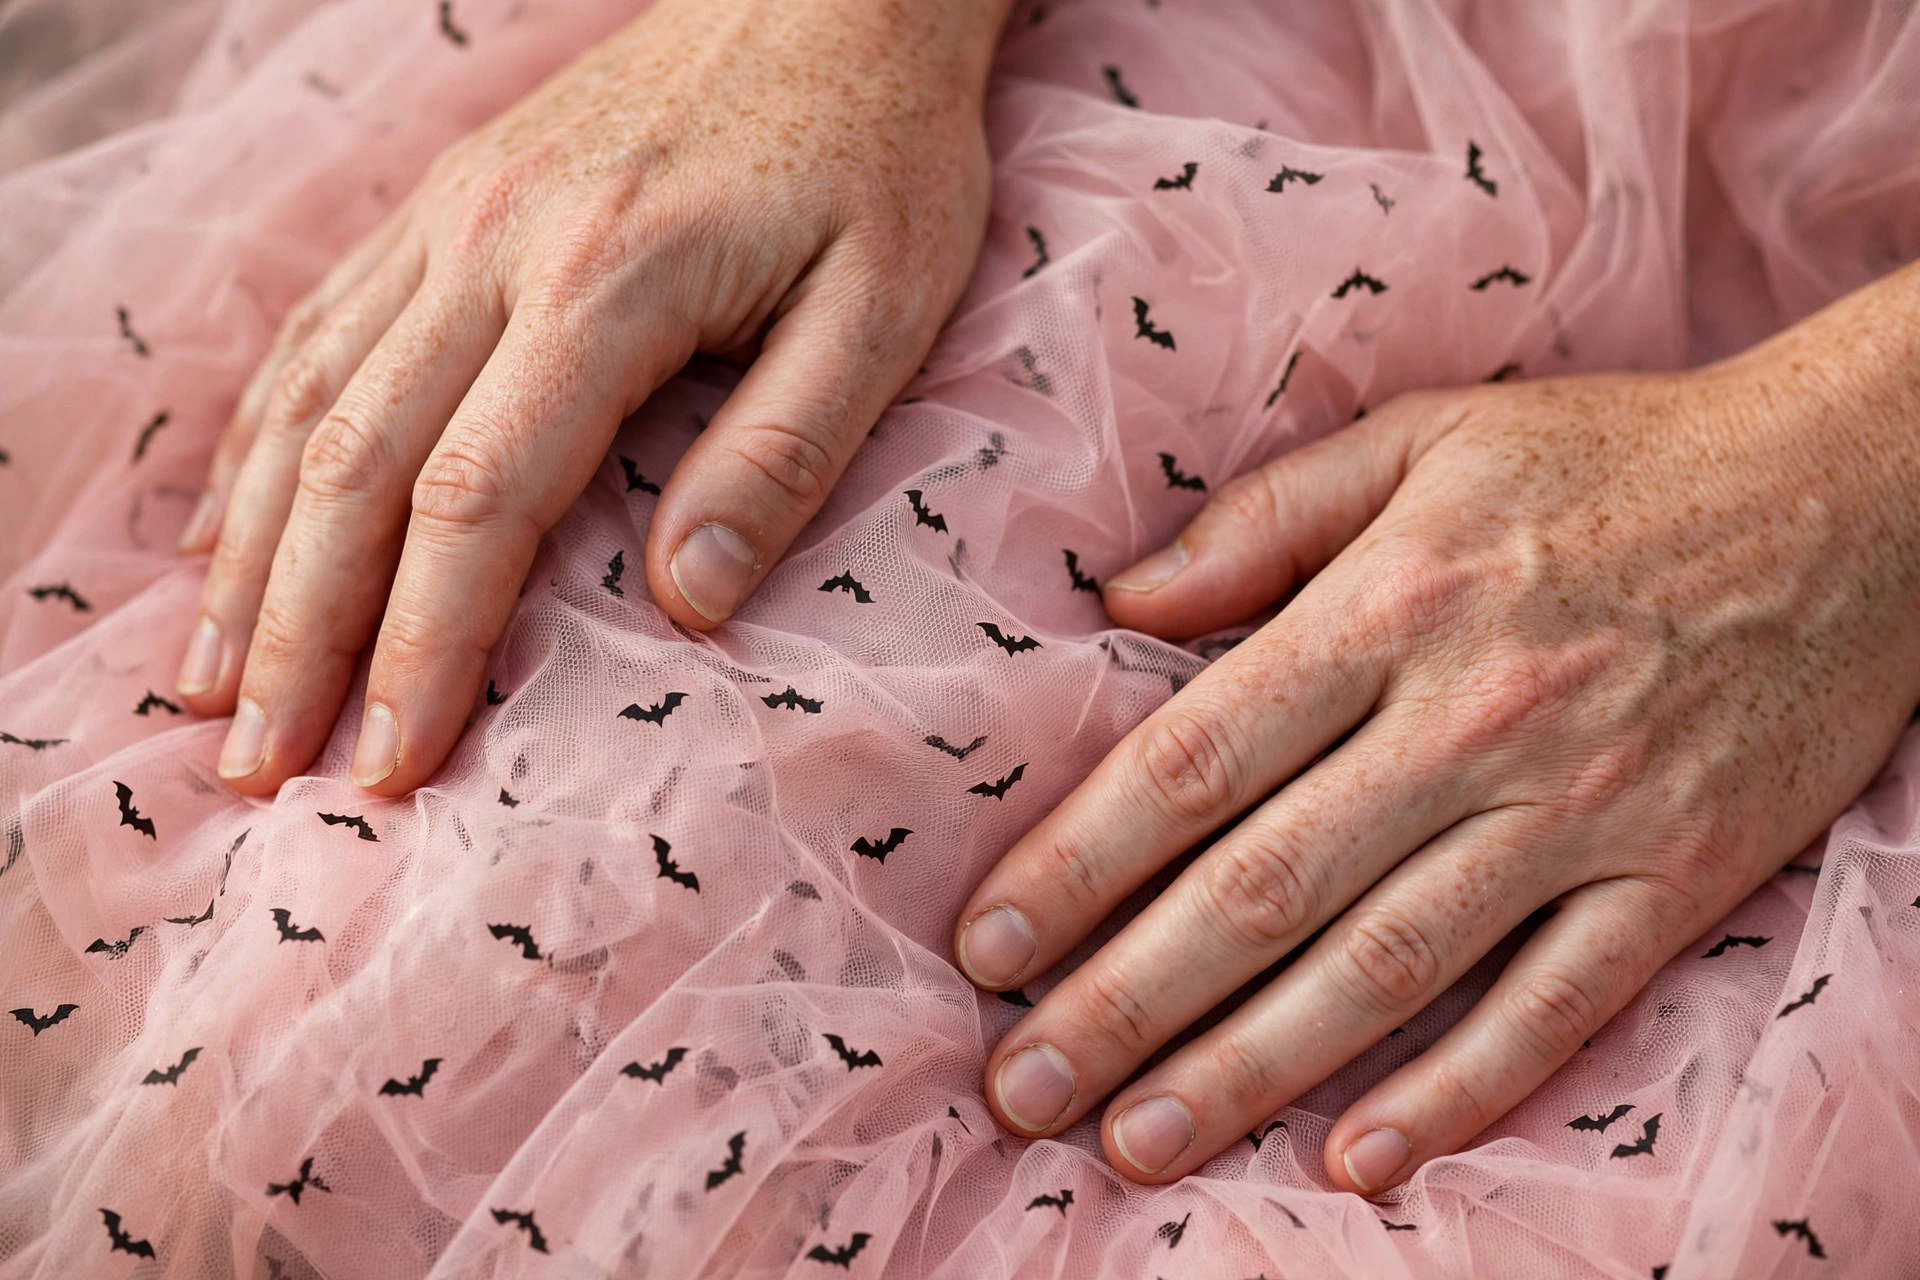
Tiny bats on a sheer pink base are a sweet, understated way to wear Halloween nails without going dark or dramatic. Keep the base a soft sheer pink, then add one small black bat silhouette to an accent nail, or one tiny bat on each of two nails. The bat should be small and simple, with two small wings and a rounded body, so it reads as a cute shape rather than a scary one. The pink base keeps the whole manicure feeling light and feminine, even with the black detail.
This design is especially flattering on short nails, because the single small bat does not need much space. If you want a little more art, add a tiny dot or a small star next to the bat, but keep the extras minimal so the nail does not look crowded. A fine nail art brush or a small bat decal gives the cleanest result, and a glossy top coat protects the art. The contrast between soft pink and black makes the design feel festive without feeling heavy. Keep the bat small and centred so the pink base stays light and the design stays balanced.
9. Orange and Cream Half-Moon Design
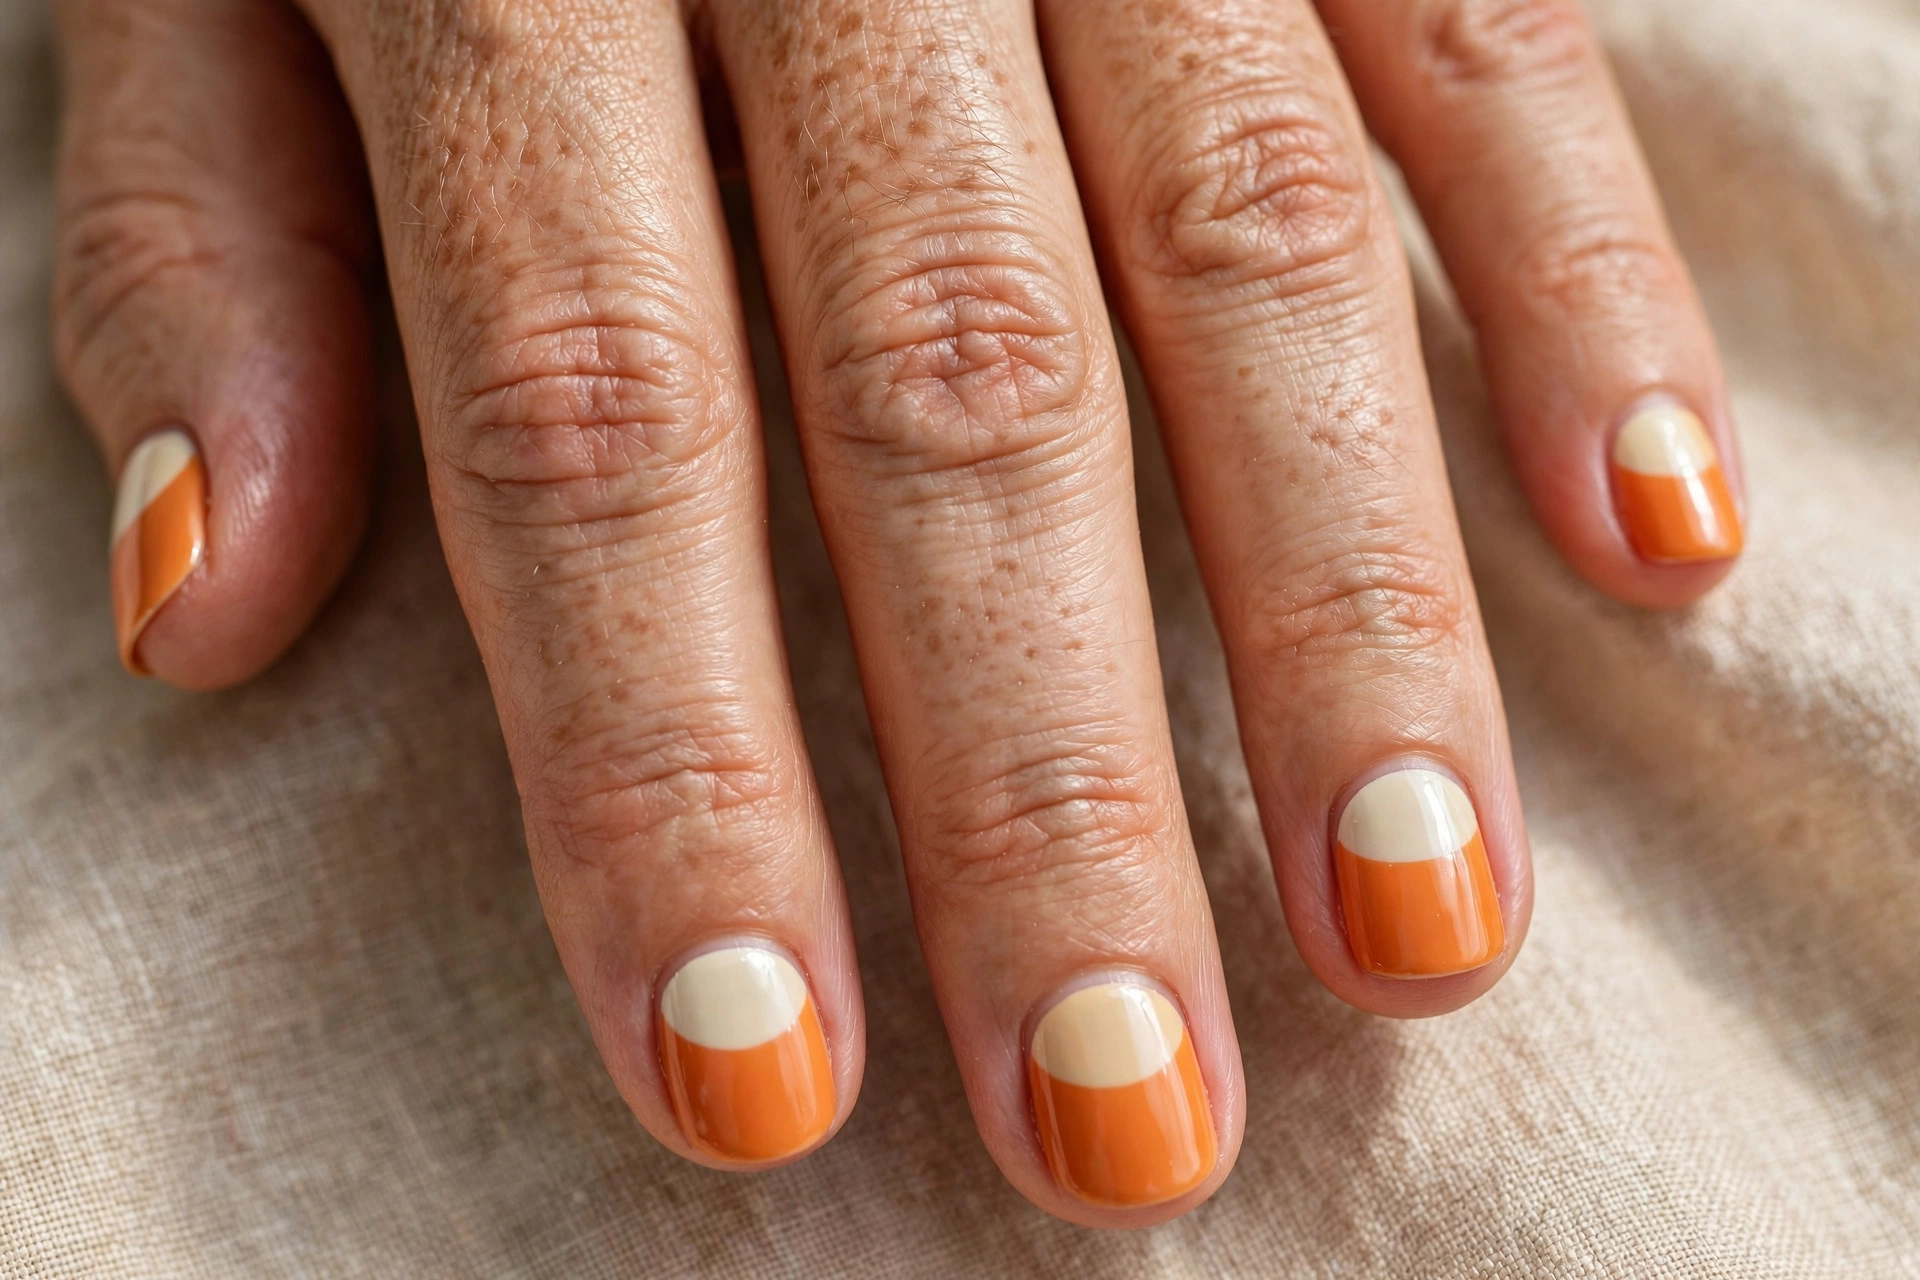
An orange and cream half-moon design uses the classic half-moon shape at the base of the nail for a clean, retro Halloween manicure. Paint the nail in a warm cream, then add a burnt orange half-moon at the base, following the natural curve of the cuticle. The half-moon stays small and tidy, which keeps the design minimalist, while the orange adds a clear seasonal colour. This is a great choice if you like vintage-inspired nails and want Halloween colour without any characters or art. The retro shape also grows out gracefully, since the colour sits near the base.
For the cleanest result, use a half-moon guide or a small curved sticker to mask the shape while you paint the orange. A short oval or round nail shape suits this design, since the curved base echoes the half-moon. If you want a little extra detail, add a tiny gold dot at the centre of the half-moon, but keep it to one dot per nail. Finish with a glossy top coat to smooth the edge between the two colours and make the orange look rich. The clean curve keeps the manicure tidy and makes the seasonal colour feel intentional.
10. Subtle Cat-Eye Shimmer in Plum
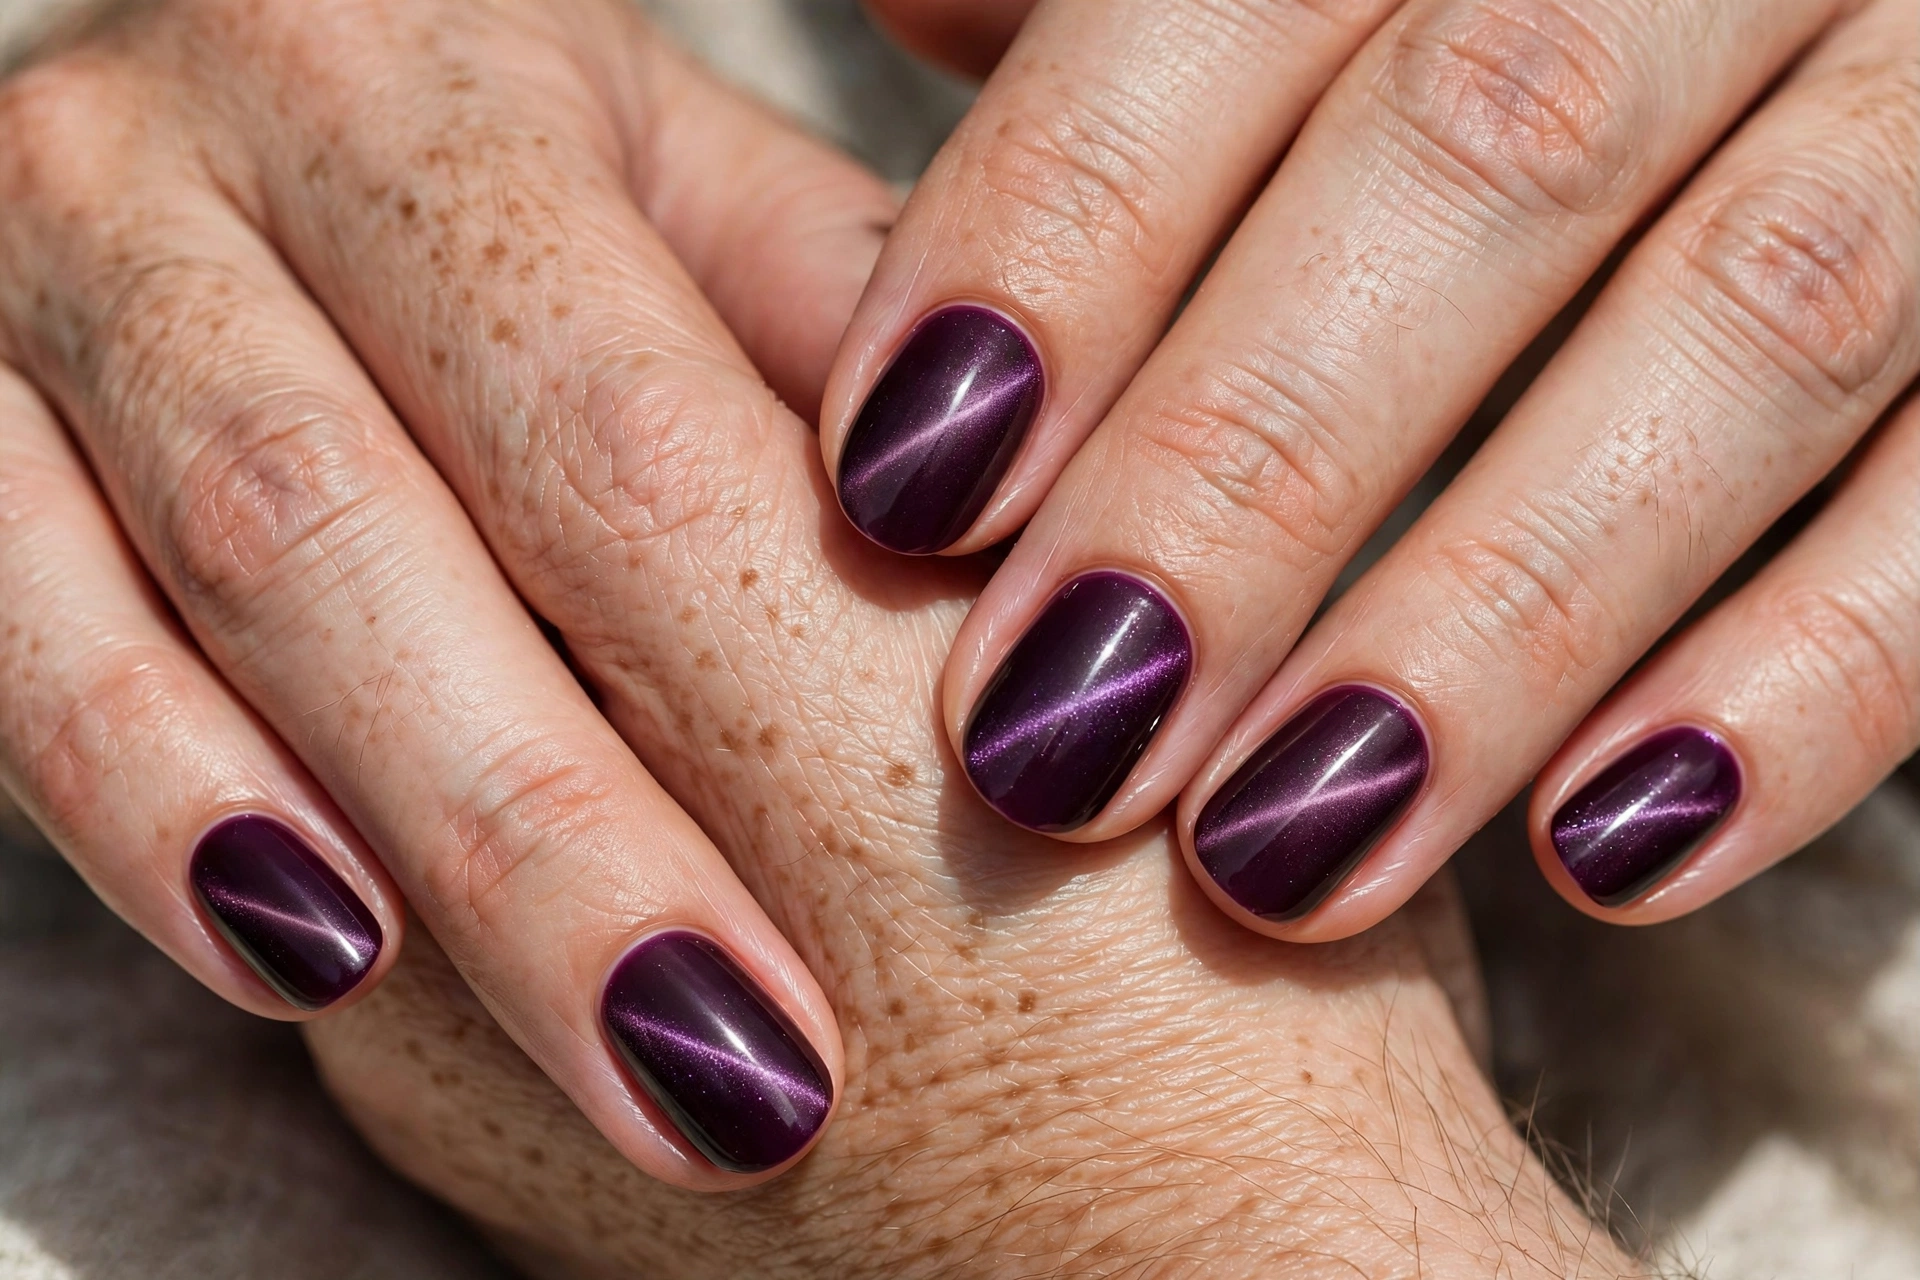
A subtle cat-eye shimmer in plum gives a moody, magnetic manicure that feels perfect for Halloween without any painted art at all. Cat-eye polish contains tiny magnetic particles that shift under a magnet, creating a soft line of light that moves across the nail. Choose a deep plum shade and keep the shimmer effect gentle, so the nail looks like polished stone rather than glitter. This is the most low-effort option on this list, since the polish itself creates the whole effect. The shifting light gives the manicure depth without any painted art or extra effort.
Ask your nail artist for a cat-eye manicure in plum, or use a cat-eye polish at home with the small magnet that comes with it. Hold the magnet over the wet polish for a few seconds to form the line, then cure or let it dry before adding top coat. The result looks different from every angle, which makes it feel special without any drawing. Pair it with a glossy top coat to keep the shimmer bright, and keep the nail shape simple so the light effect stays the star.
11. White Dots and Tiny Moons on Sage Green
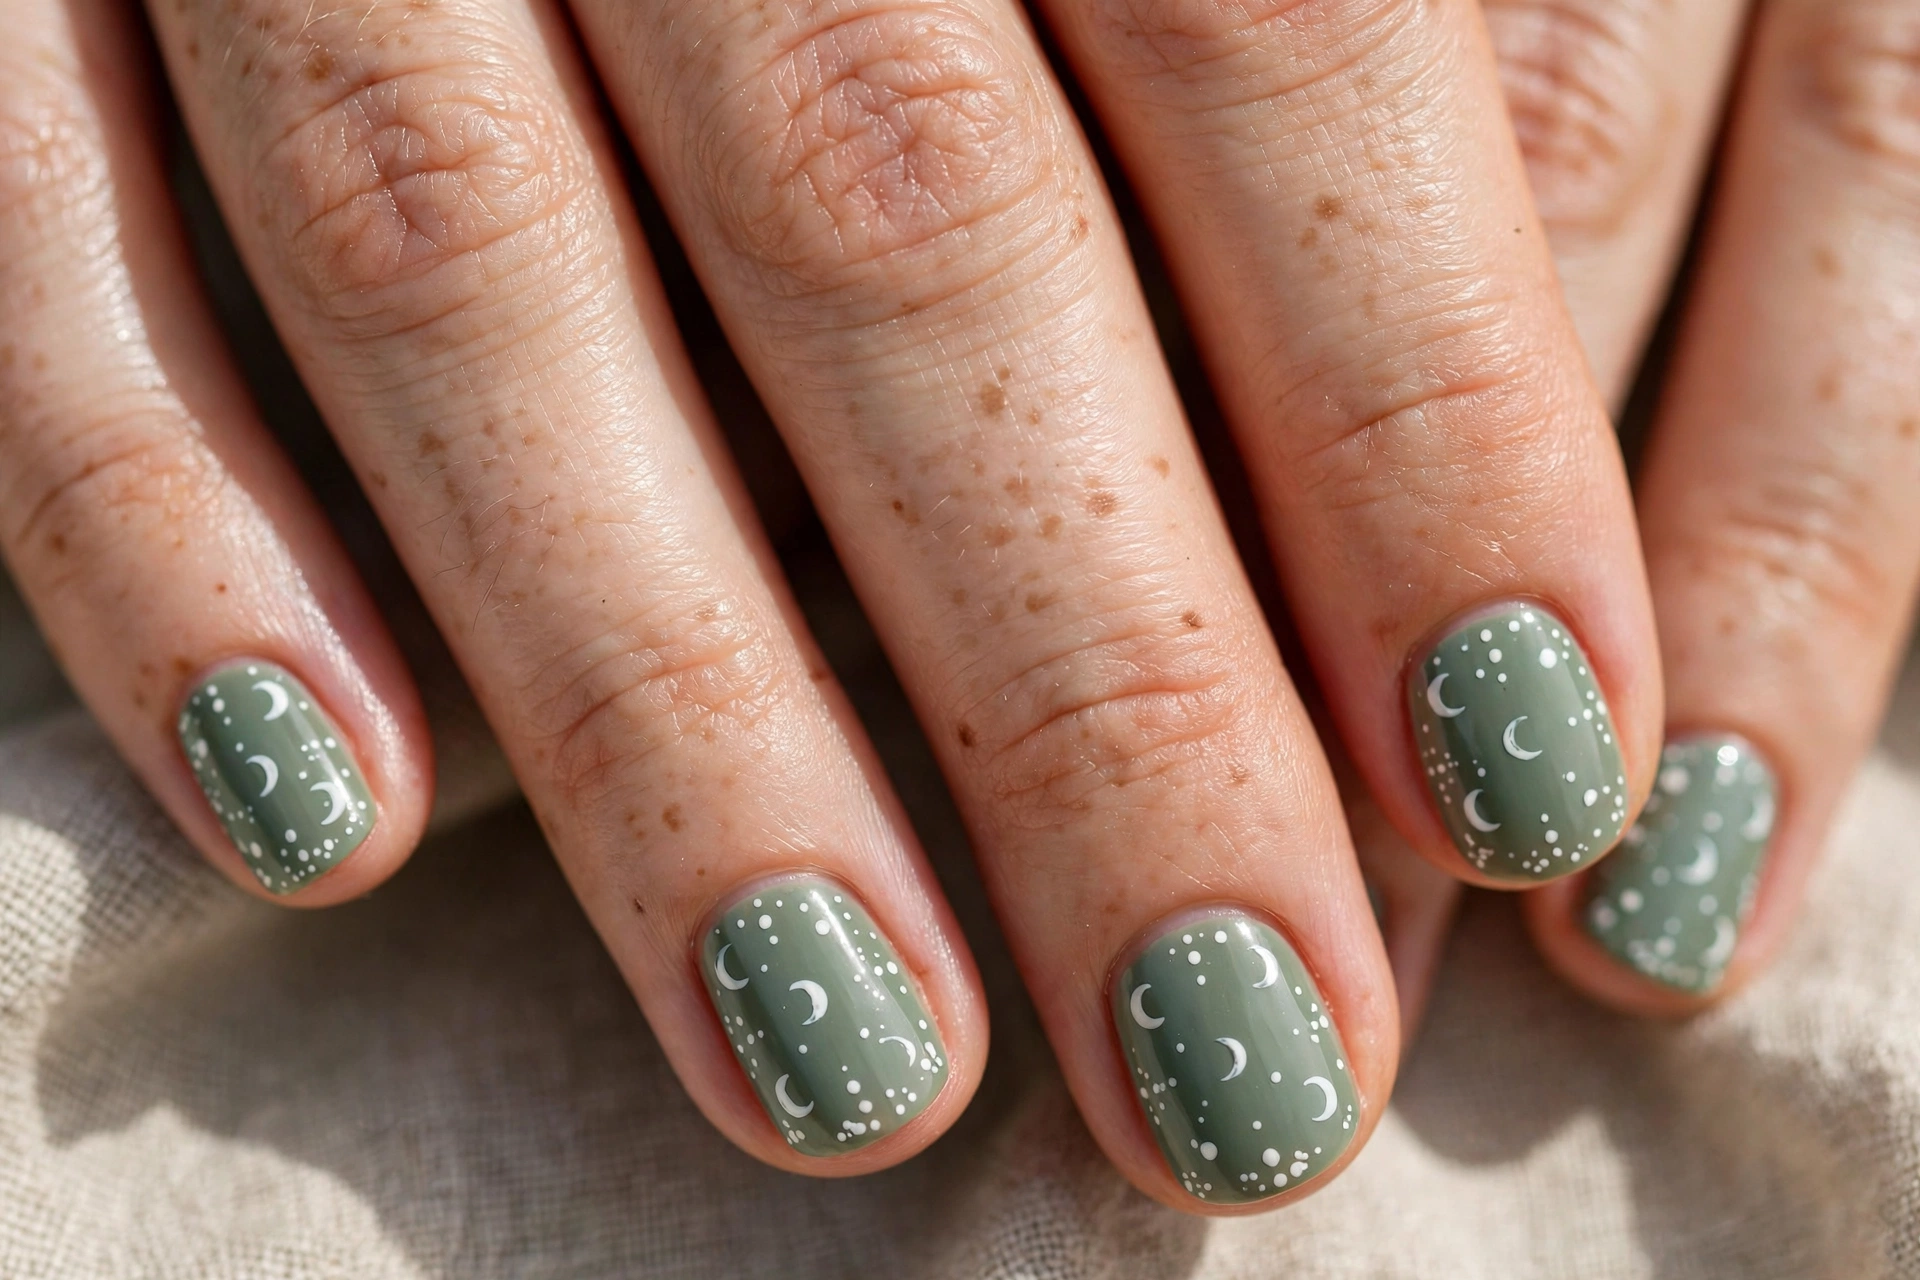
White dots and tiny moons on a sage green base make a calm, earthy Halloween manicure that feels more autumn garden than haunted house. Paint the nails in a muted sage green, then add a small white crescent moon on one accent nail and a few tiny white dots on the others. The dots should be small and evenly spaced, like a light scatter, rather than a heavy pattern. The sage green keeps the manicure soft and modern, while the moons and dots add the seasonal touch. The muted green also pairs beautifully with gold jewellery and warm autumn knits.
This design suits people who prefer green and neutral tones over the usual Halloween orange and black. A short square or soft oval shape works well, since the clean edges let the dots sit neatly. Use a dotting tool for the dots and a fine brush or a small moon decal for the moon, keeping both elements small. A glossy top coat makes the white details pop, while a matte top coat gives the whole manicure a softer, velvety finish that feels very autumnal. Keep the dots small and evenly spaced so the pattern stays light and refined.
12. Glitter Gradient Tips in Black and Gold
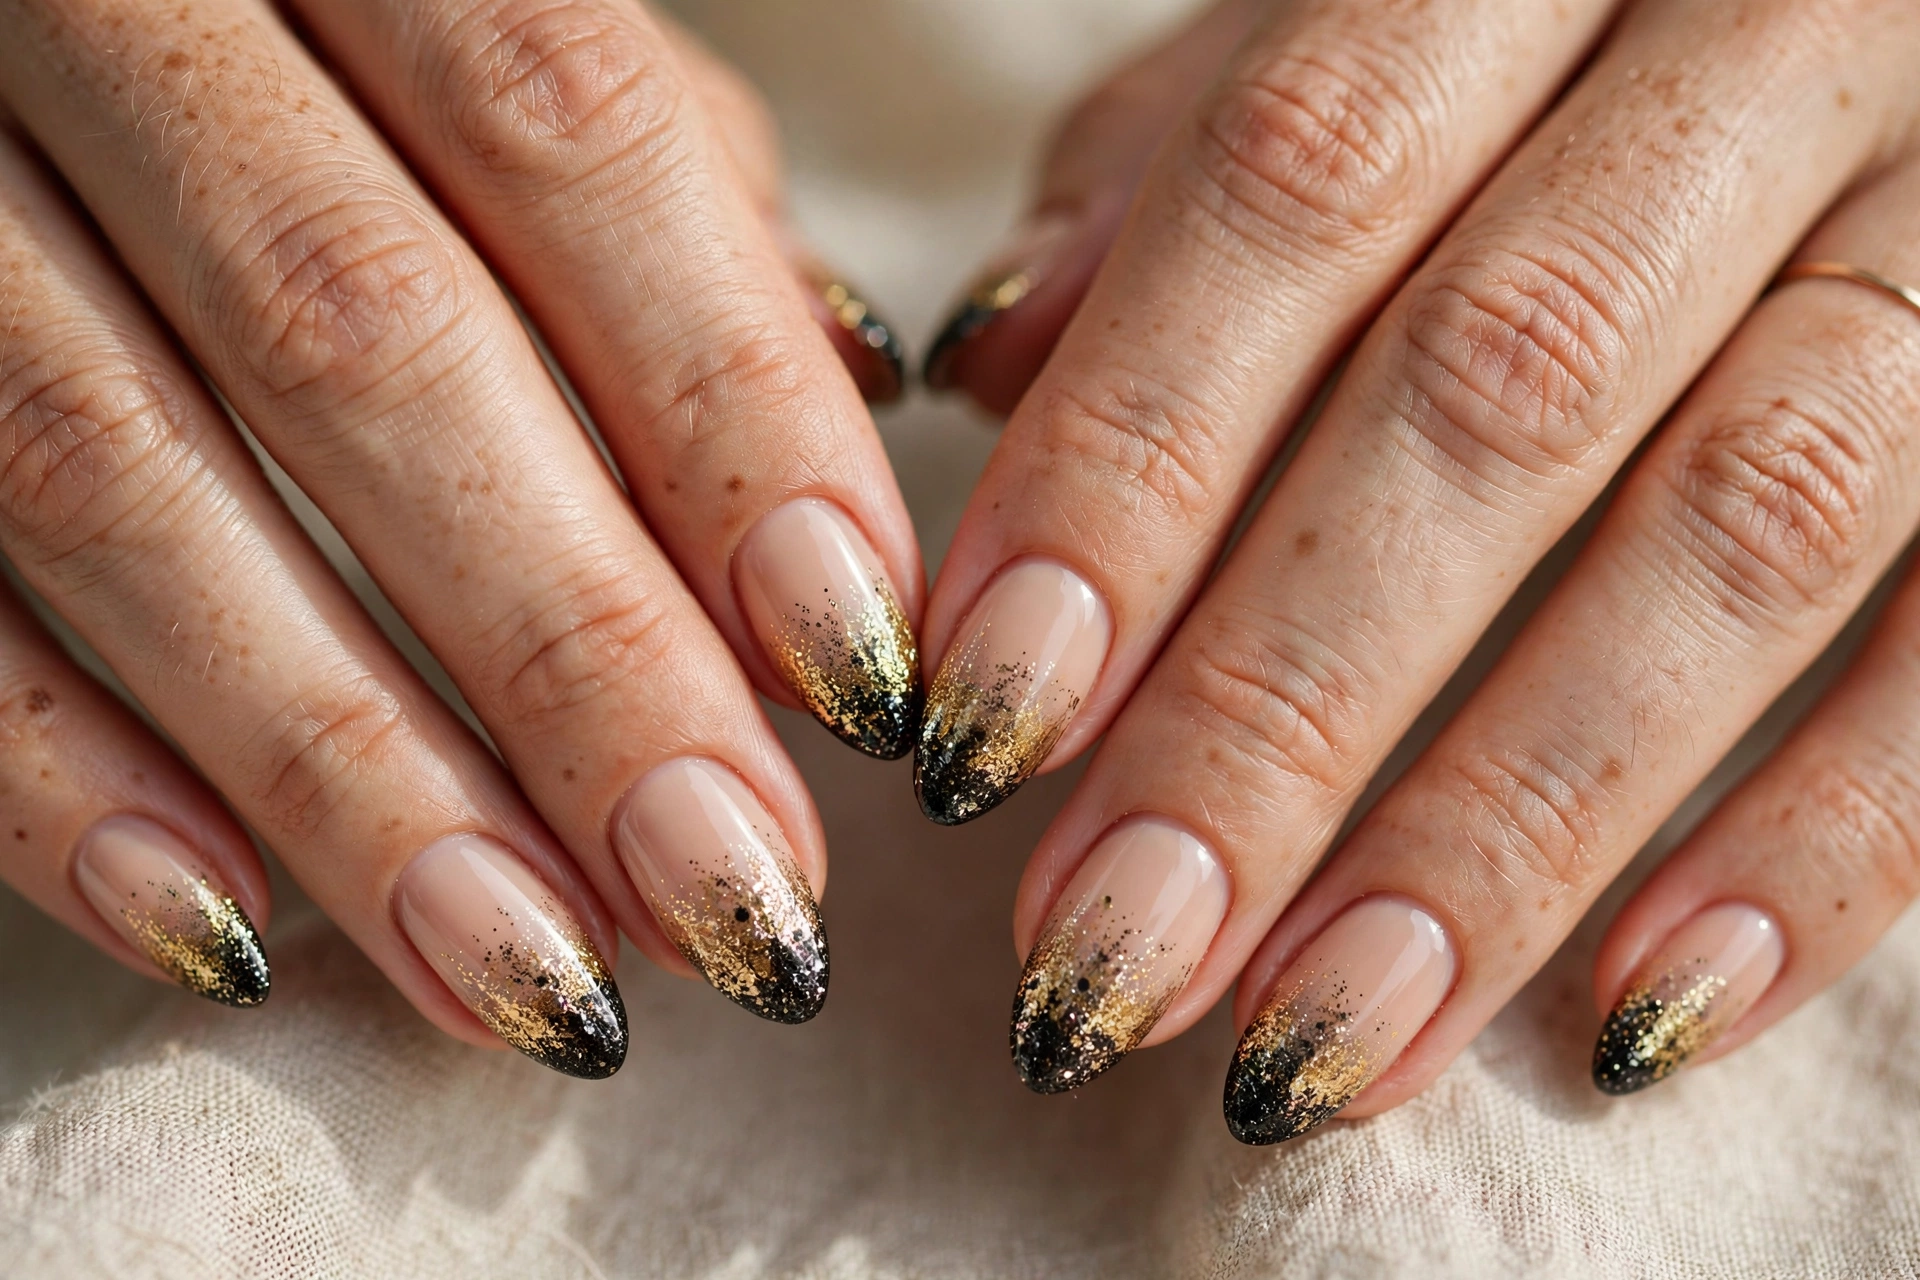
A glitter gradient tip in black and gold gives a festive Halloween manicure that still looks glamorous rather than costume-like. Start with a nude or sheer pink base, then apply a fine gold glitter near the tip and blend it downward so it fades into the base. Add a thin line of black at the very edge of the tip for a hint of drama, keeping the black narrow so the gold stays the focus. The gradient keeps the glitter soft, and the overall effect feels like evening sparkle. The soft fade keeps the glitter elegant rather than bold or costume-like.
This design is easy to customise, since you can make the glitter dense for a party or sparse for everyday wear. A sponge helps blend the glitter smoothly, and a thin brush gives you control over the black edge. Medium and long nails show the gradient best, but short nails can still carry a narrow glitter tip. Finish with a glossy top coat to seal the glitter and smooth the surface, and the manicure will catch the light beautifully in the evening. Keep the glitter layer thin and even so the surface stays smooth under top coat.
13. Tiny Pumpkins on Short Square Nails
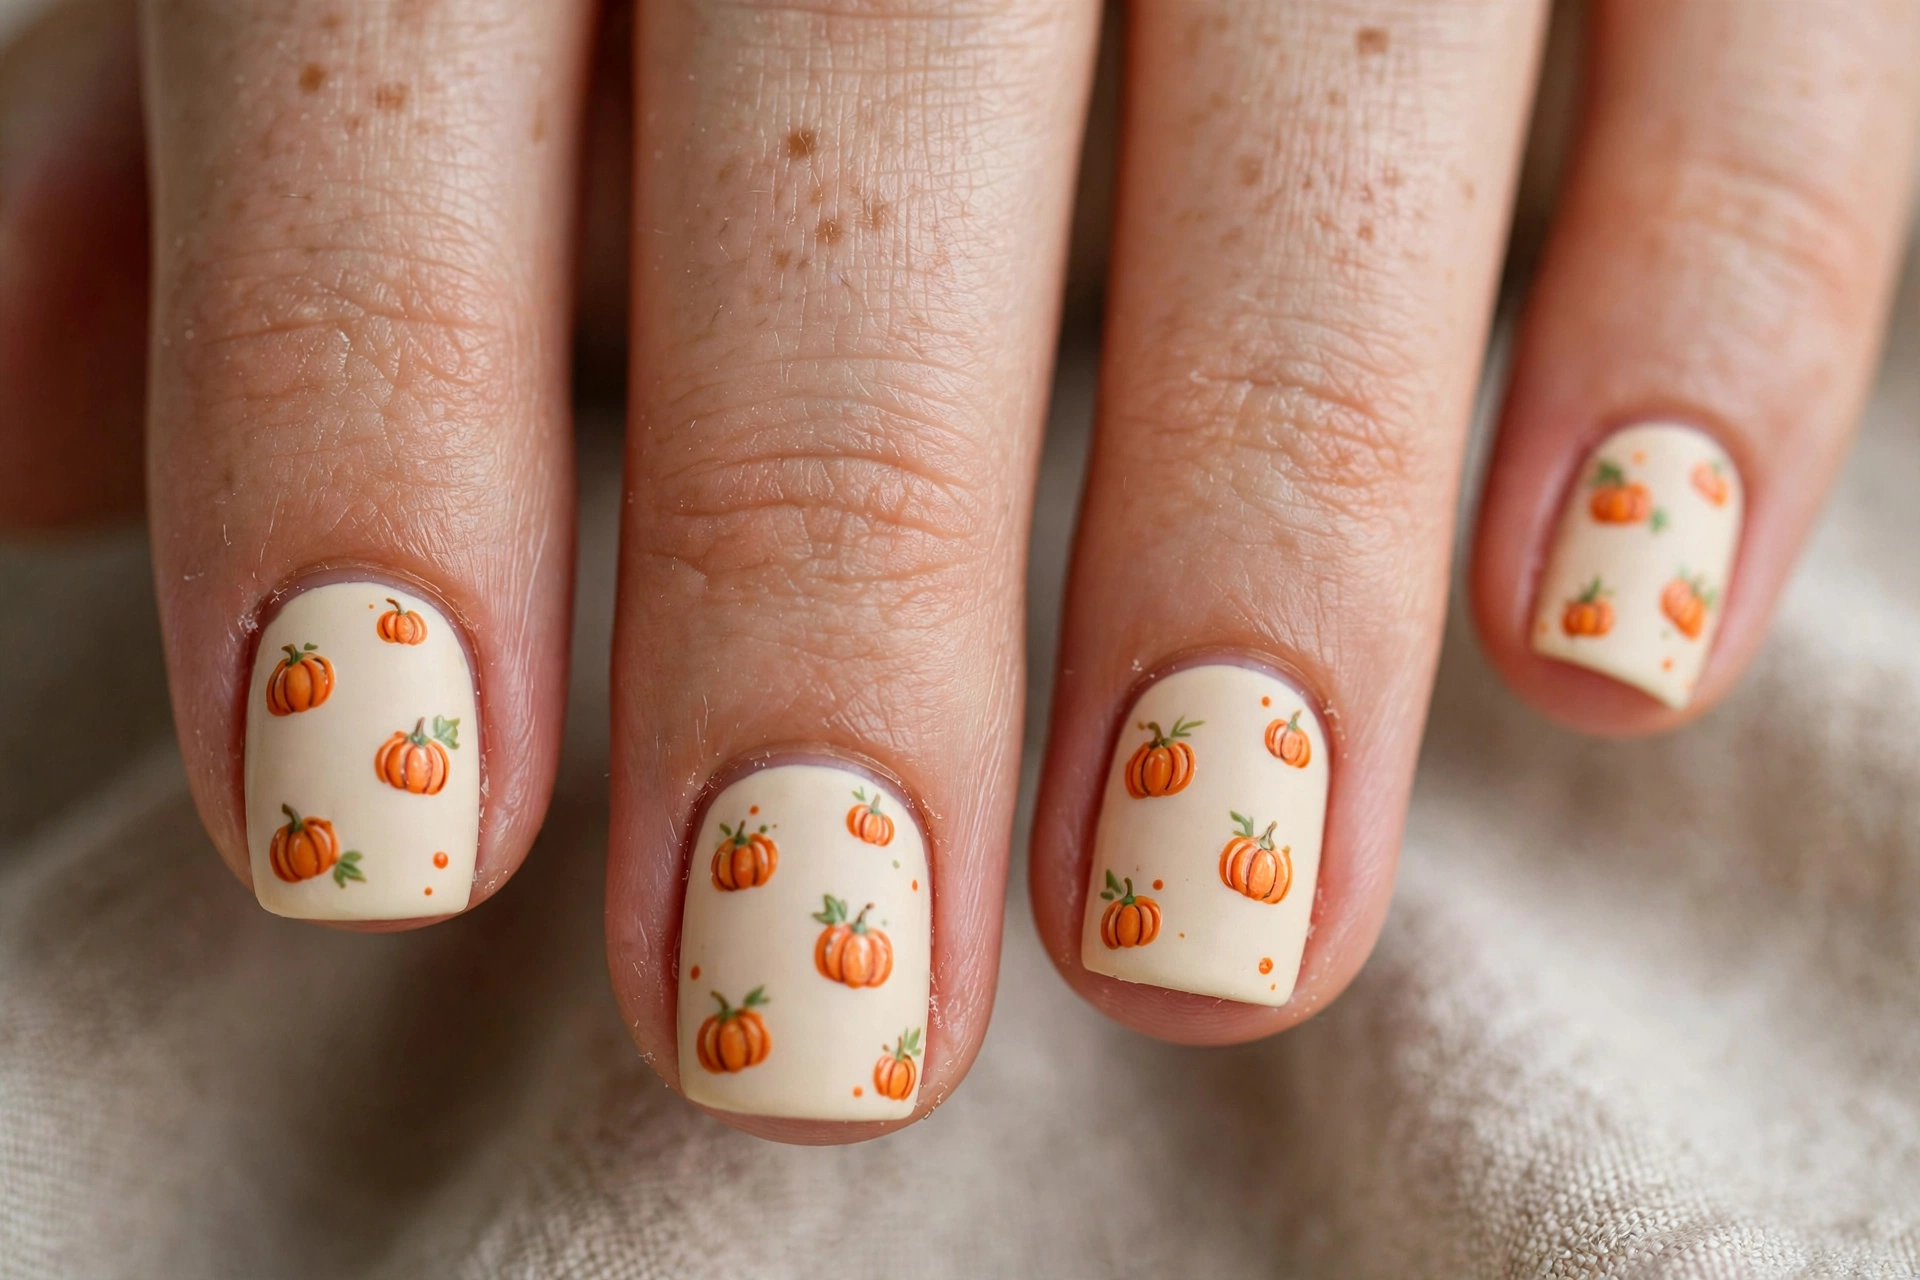
Tiny pumpkins on short square nails prove that you do not need long nails for cute Halloween art. Keep the base a soft cream or pale nude, then paint one small orange pumpkin on each ring finger, with a tiny green stem and a small curved line or two for the pumpkin ridges. The pumpkin should be small and centred, with plenty of clean base around it, so the design stays neat on a short nail. The remaining nails stay plain, which keeps the manicure feeling fresh and wearable. The single pumpkin keeps the look focused and easy to wear all October.
Short square nails suit this design because the straight edge gives the small pumpkin a tidy frame. Keep the pumpkin simple, with two or three curved lines at most, since too many details can look crowded on a short nail. A fine brush and a dotting tool make the work easier, and a glossy top coat smooths the art. This is a lovely choice for people who want one clear Halloween detail without committing to a full set of art. Keep the ridges to two or three lines so the tiny pumpkin stays crisp and clean.
14. Minimal Ghost Faces on a Clear Glossy Base
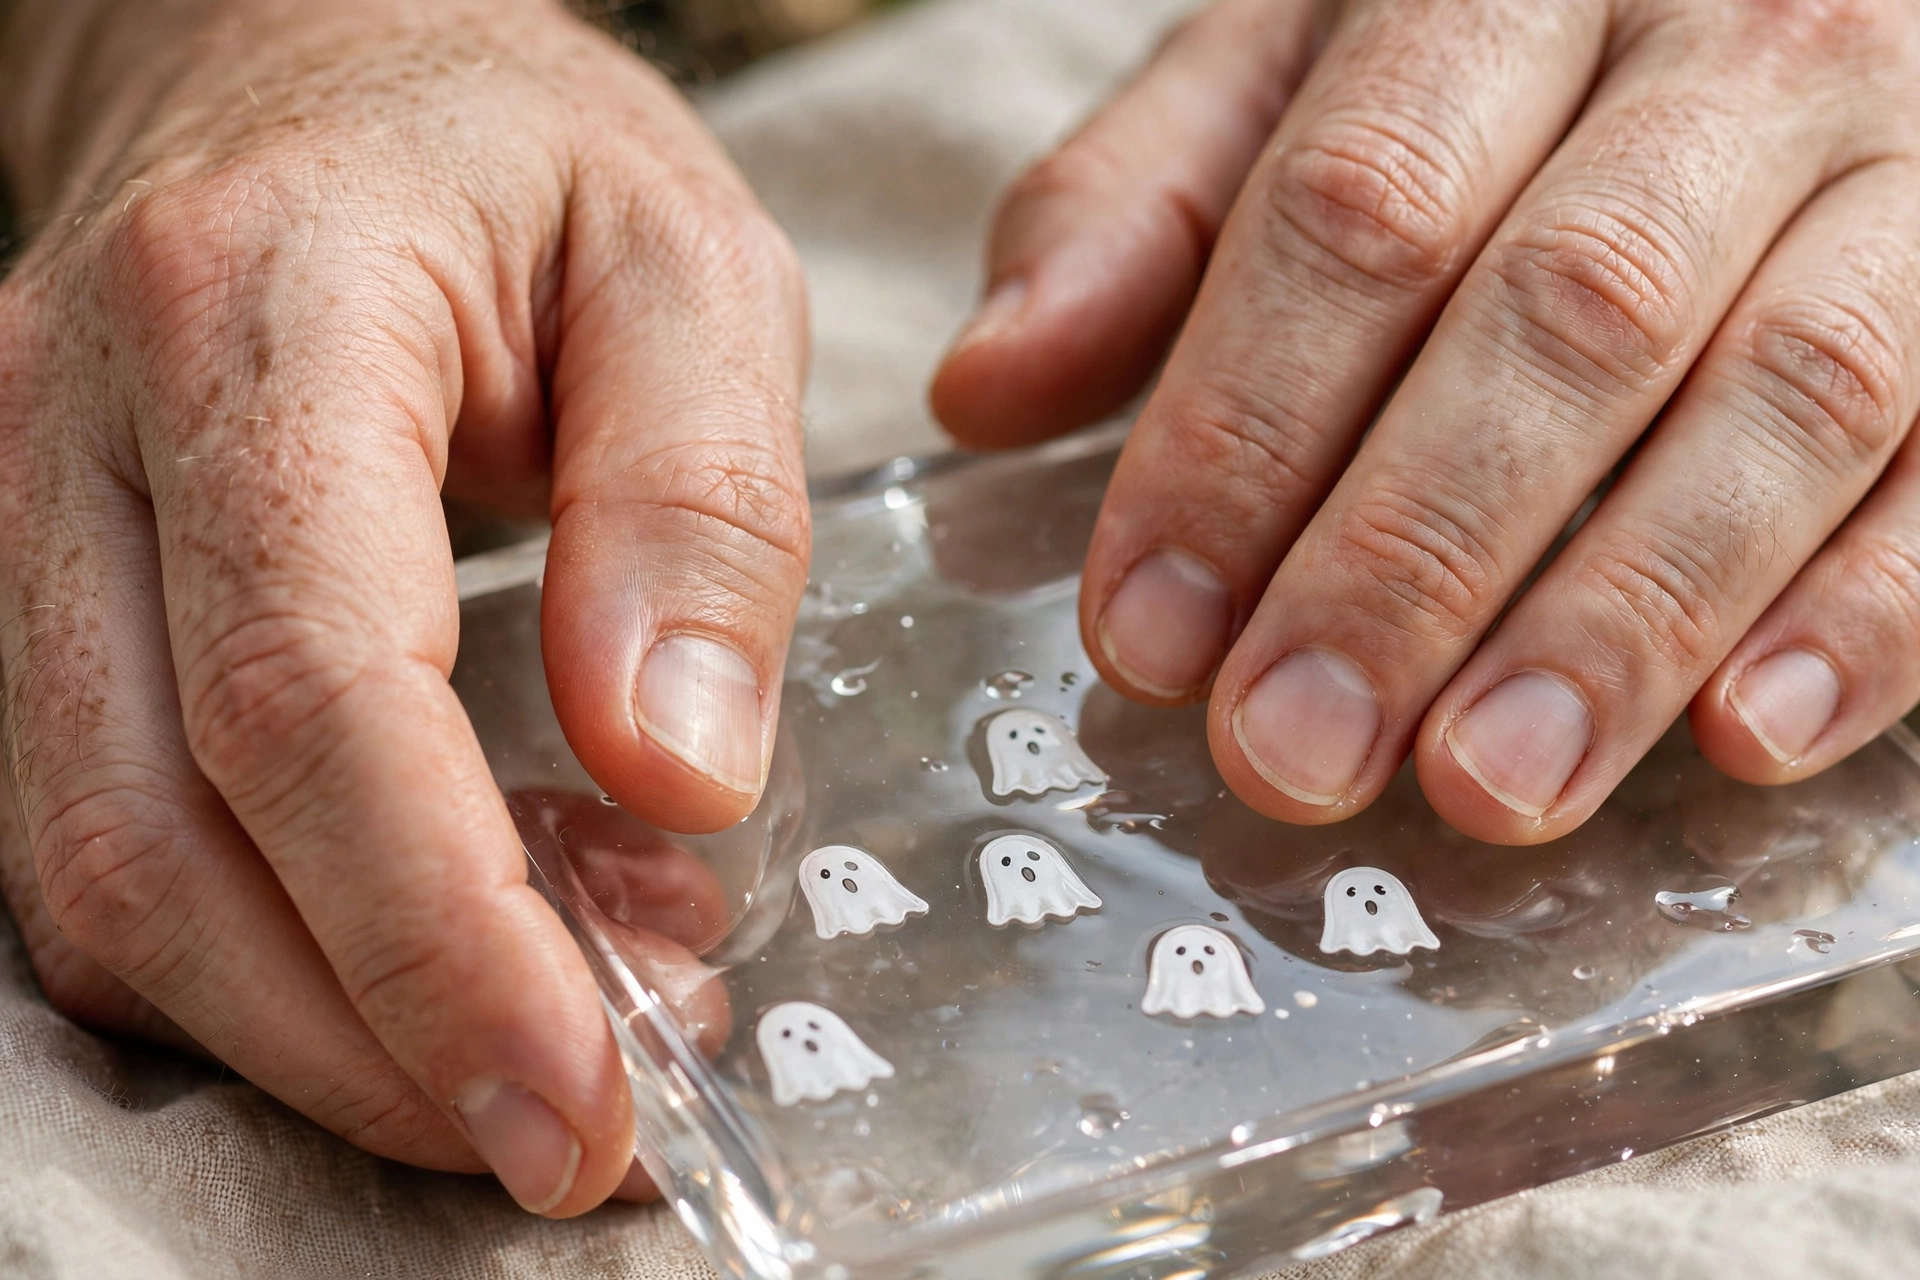
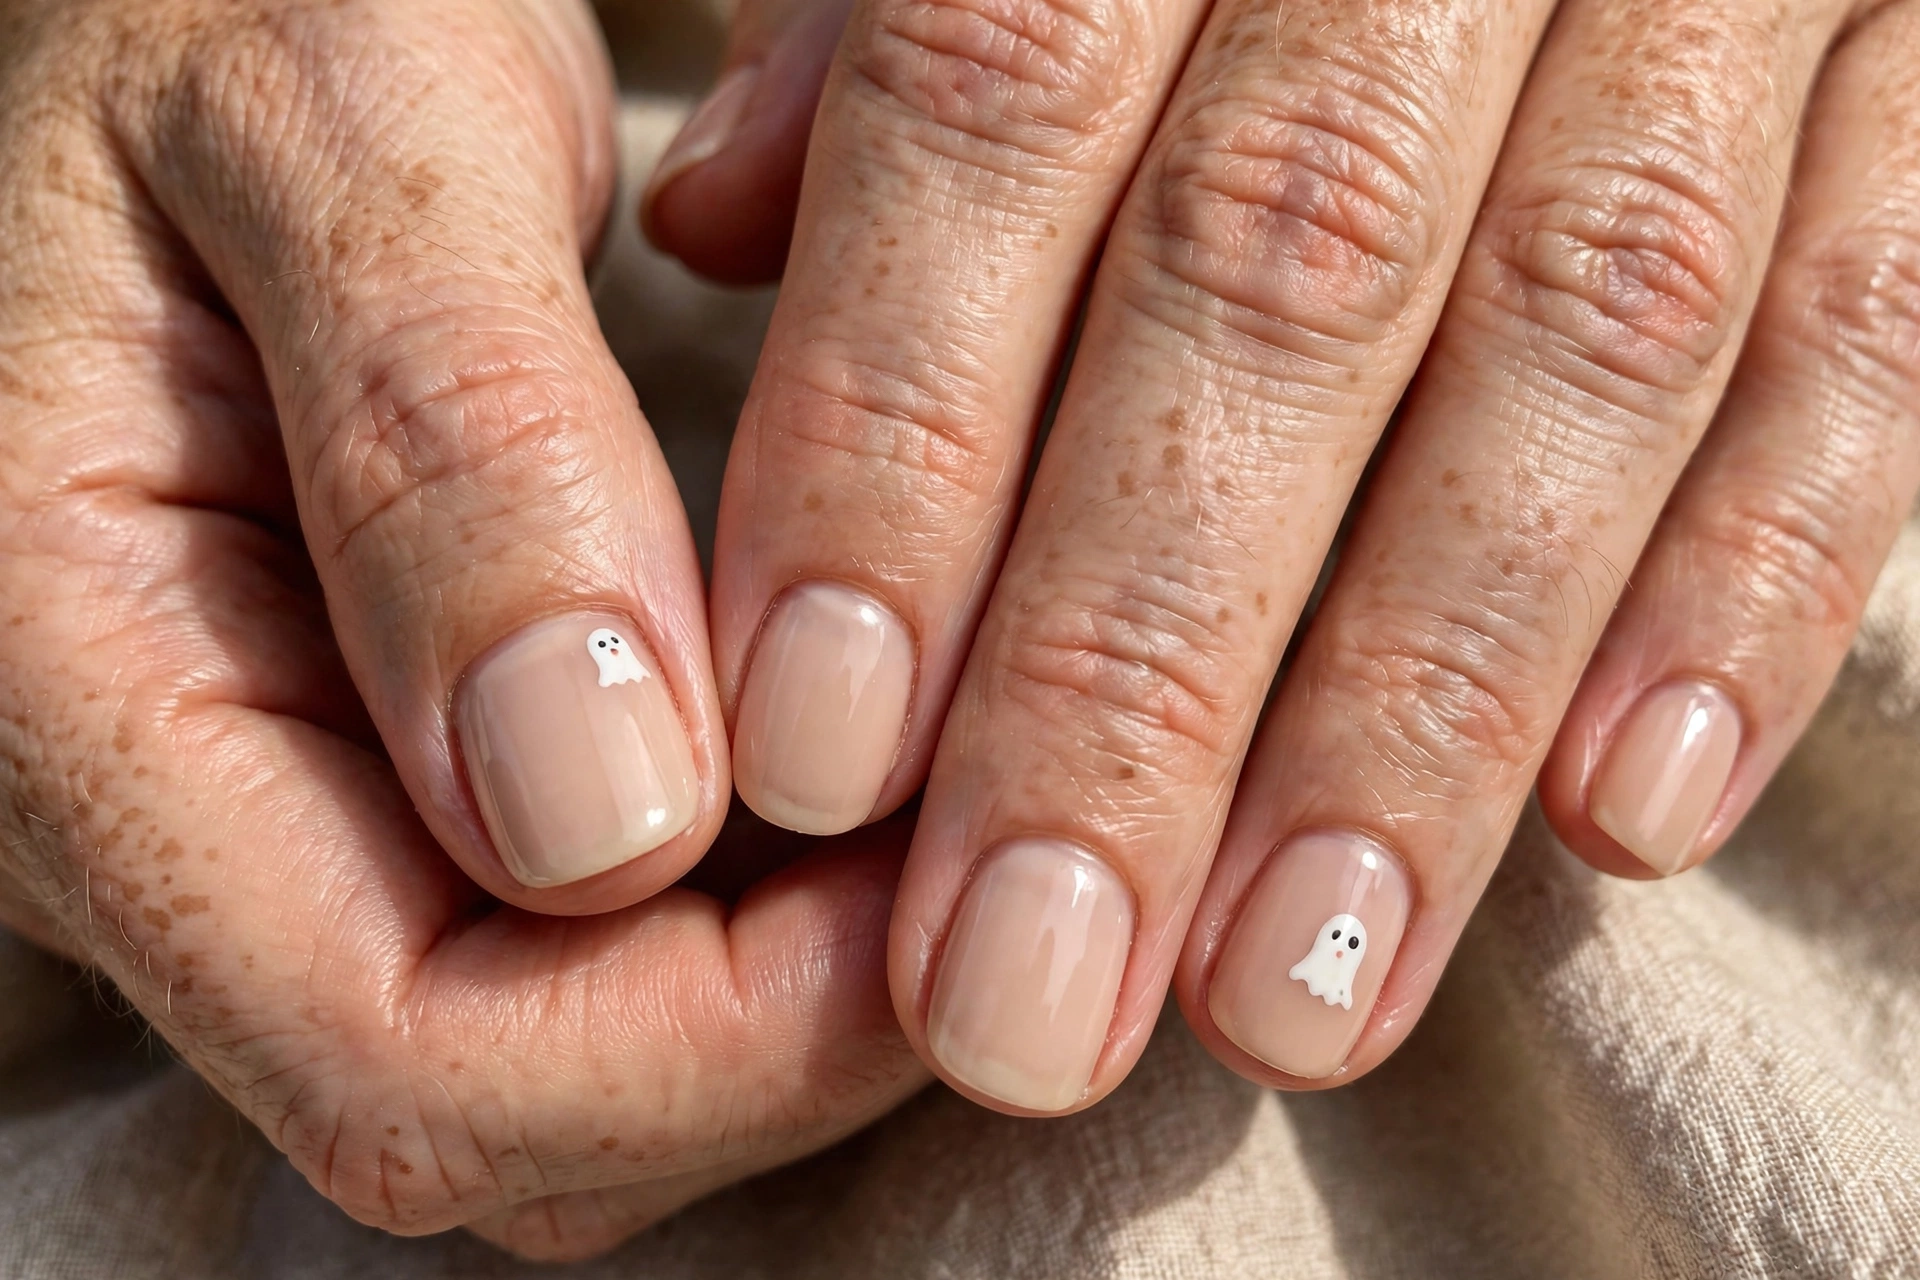
Minimal ghost faces on a clear glossy base are the lightest, most barely-there Halloween manicure on this list. Start with a clear or very sheer pink base, then paint two tiny black dot eyes and one small oval mouth on one or two accent nails. There is no white ghost shape at all, just the tiny face floating on the clear nail, which makes the design feel clever and modern. The rest of the nails stay completely clear and glossy, so the manicure looks almost bare from a distance. The floating face feels clever and modern, like a tiny secret on the nail.
This design is perfect if you want Halloween nails that are barely visible in a meeting but still fun up close. Keep the eyes and mouth very small and centred, and use a dotting tool for the most even result. A glossy top coat is essential here, since it makes the clear base look like glass and protects the tiny face. This is also one of the easiest designs to remove, since only the accent nails carry any art at all. Keep the face tiny and centred so the clear base stays glassy and the design stays subtle.
Conclusion
Minimalist Halloween nails work because they use one small idea at a time, whether that is a tiny ghost, a single moon, or a soft glitter gradient. You do not need a full set of art to feel festive, and a clean base with one thoughtful detail often looks more polished than a busy design. The fourteen ideas in this guide all share that same principle, so you can pick the one that fits your nail length, your style, and your comfort level with nail art. Each idea proves that a little seasonal detail can feel just as festive as a full set of art.
Try one design this October, starting with the simplest option that appeals to you, and see how it feels to wear Halloween on your nails without going over the top. A tiny ghost on a nude base or a single moon on black tips is enough to make the season feel special. Save the ideas you love, share them with your nail artist, and enjoy a Halloween manicure that is cute, easy, and completely wearable. Your October nails can be festive and refined at the same time. With one of these ideas, your October manicure stays cute, easy, and completely wearable.
Frequently Asked Questions About Minimalist Halloween Nails
What are minimalist Halloween nails?
Minimalist Halloween nails use a small amount of seasonal art, like one tiny ghost, pumpkin, moon, or web, on a mostly clean base. The design stays cute and wearable instead of bold or scary.
Can I do minimalist Halloween nails at home?
Yes, most of these designs need only a fine nail art brush, a dotting tool, and a steady hand. Start with a simple idea like a tiny ghost or a single moon, and use decals if freehand art feels tricky.
Do minimalist Halloween nails work on short nails?
Yes, many of these ideas, like tiny pumpkins, single moons, and small ghost faces, are designed for short nails. Keep the art small and centred with plenty of clean base around it.
How long do minimalist Halloween nails last?
With a good base coat and top coat, a minimalist manicure usually lasts about one to two weeks, depending on your nails and daily activities. Reapply top coat every few days to protect the art and keep the shine.
Keep Reading